There are no products listed under this category.
Shop by Category
AB 33 and some mumblings on the AB34
The AB 33 was the answer (or the bain according to some) to the need for a lowcost ignition device for Fairbanks Morse for their early Z series farm engines for the burgeoning farm engine market. It was an improvement over the early low tension make and break systems. It was a wound armature oscillating design. The upside was a hot spark without having to spin the engine rapidly. The downside was insulation failure and seepage in the wound armature and condenser issues due to the same and subsequent electrical leakage. The magnets were complicated and wimpy compared to others. The AB 34 appeared to be an attempt to make a cheaper alternative. It looked similar but had a different housing and spring supports that occasionally broke off, a more crude breaker assembly that did away with a bushing and pivot pin, same magnet and condenser issues, and last but not least, the armatures were riveted together in lieu of removable screws to service the condenser and/or windings. In short, these are spendy buggers to work on. The good news for these devices is that once one corrects the usual mechanical failures and installs a modern capacitor and new windings with modern insulation materials, they work fairly well.
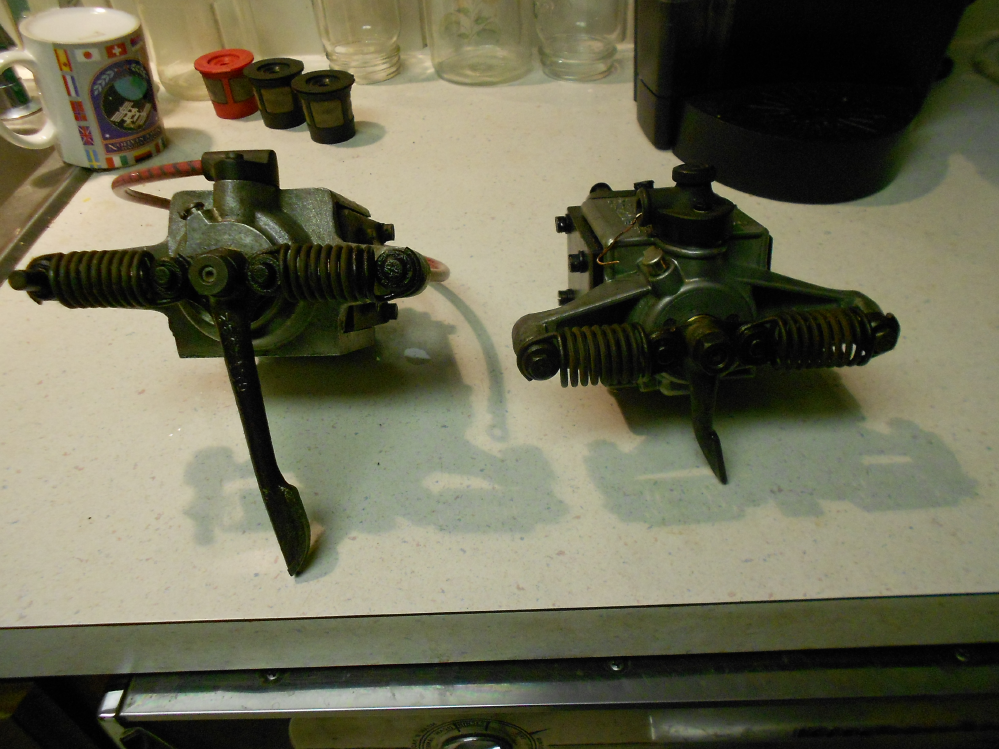
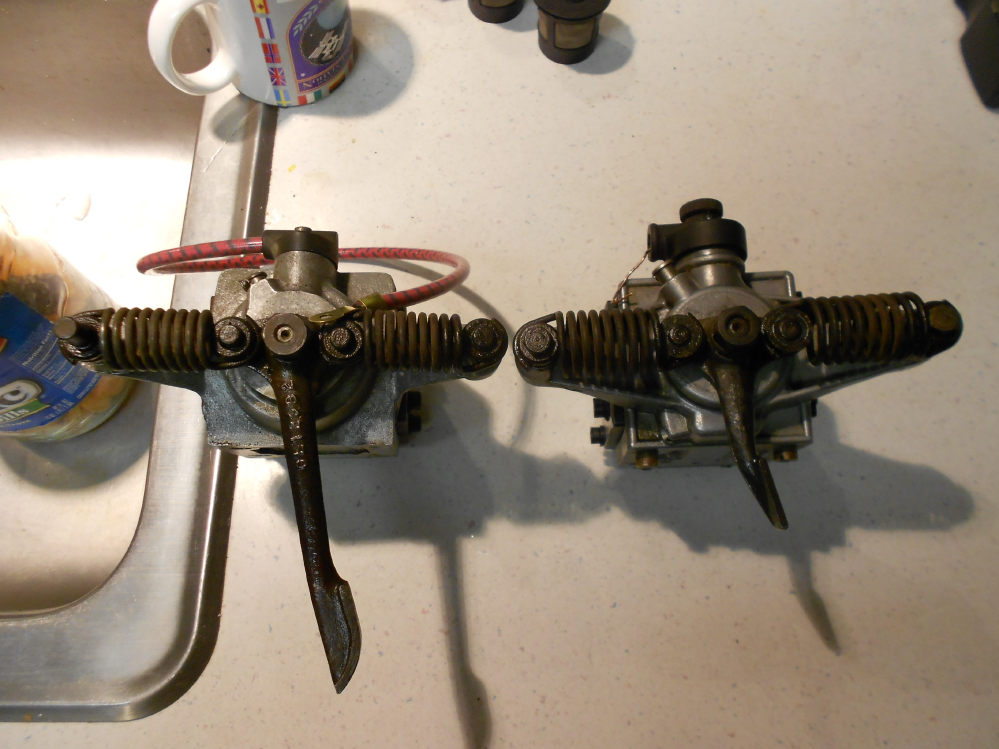
AB33 on left, AB34 on right.
We have one that was rebuilt about 25 years ago on a Fairbanks morse light plant that has run steadily at many fairs and many to come with nary a miss. We have not had to get inside it since and that is fine with us. Occasionally,usually every year or other year one must service the points as the breaker box and cover are close to the open crank and rod that lubricates everything in a 3 foot radius whether it needs it or not. While there, a good time to polish and set the points, and grease the breaker lever pivot pin. Use care when removing the spring retaining screw, it likes to fly through the air and is easy to crossthread when reinstalling.They like the other screws are a standard metric size and pitch. Brake or electric motor cleaner works great to wash out any oil and goo.
For both models there were for some reason a short or a long operating lever. The two screws holding the brushholder are metric 4MMx.7 threads. Some versions connect the plugwire with an insulated knurled nut as the specimen on the right and many of the early ones like the example on the left do not. To remove or attach the plugwire one must carefully remove the brush and spring from the brushholder. Inside the brushholder tube is a small pointed metric screw that perces the wire which must be removed, then pull the wire out. If the screw is rusted and seized often leading to breakage, the best remedy is to build a drill bushing center drilled to the tap drill size of the screw and drill it out, then chase the threads. If you elect to disassemble the mag, be sure to remove the brushholder first or you will break the fragile and expensive collector spool.
For these devices set the points to about .015" and the plug to .025". As always, use non resistor plugs and wires. The spring rollers must rotate freely and if not, polish the shafts of any roughness.
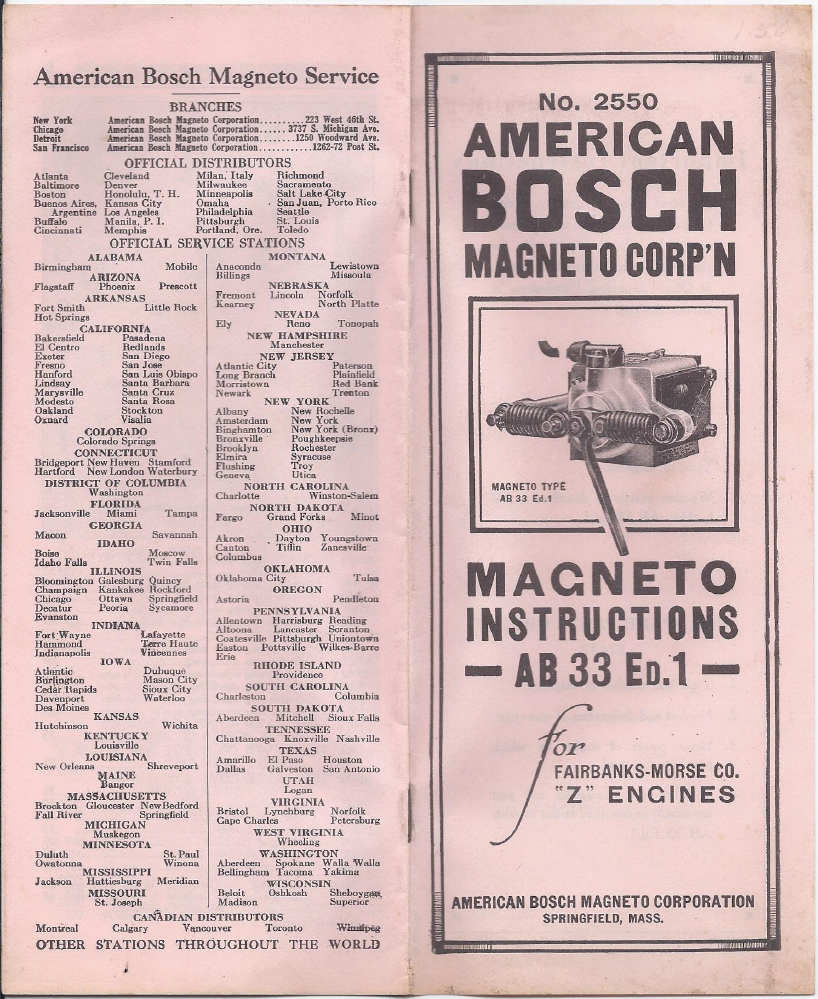
Here is some info from early service manuals to help keep yours alive and well. The first was supplied by American Bosch.
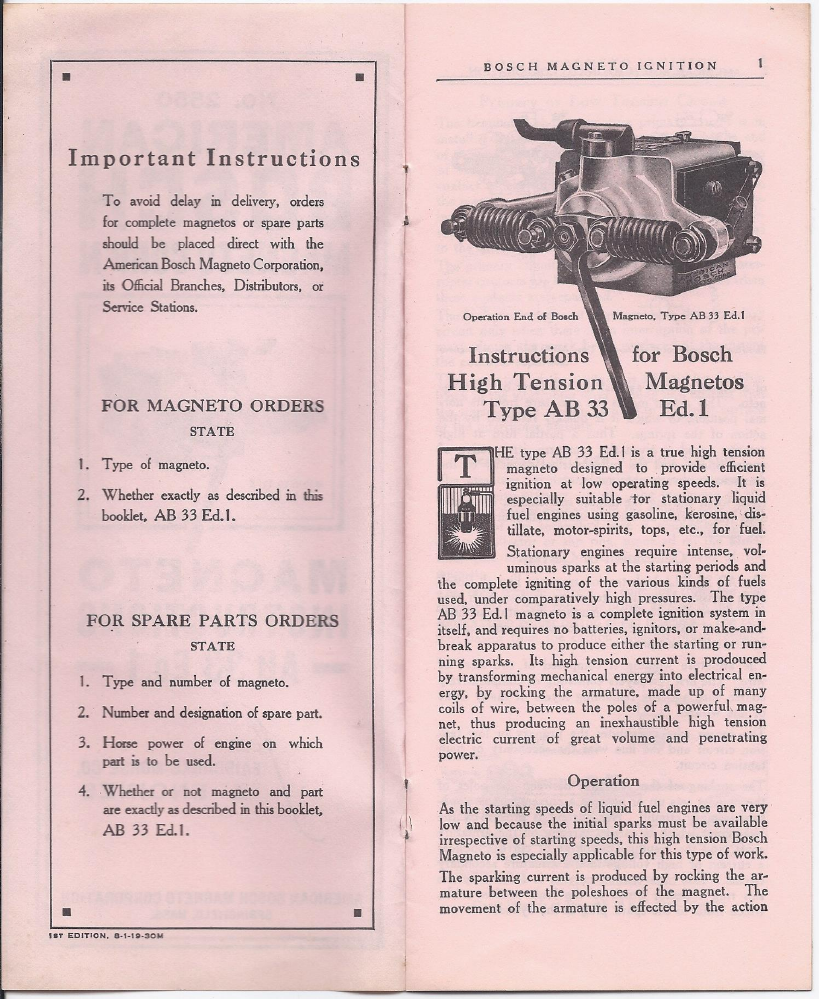
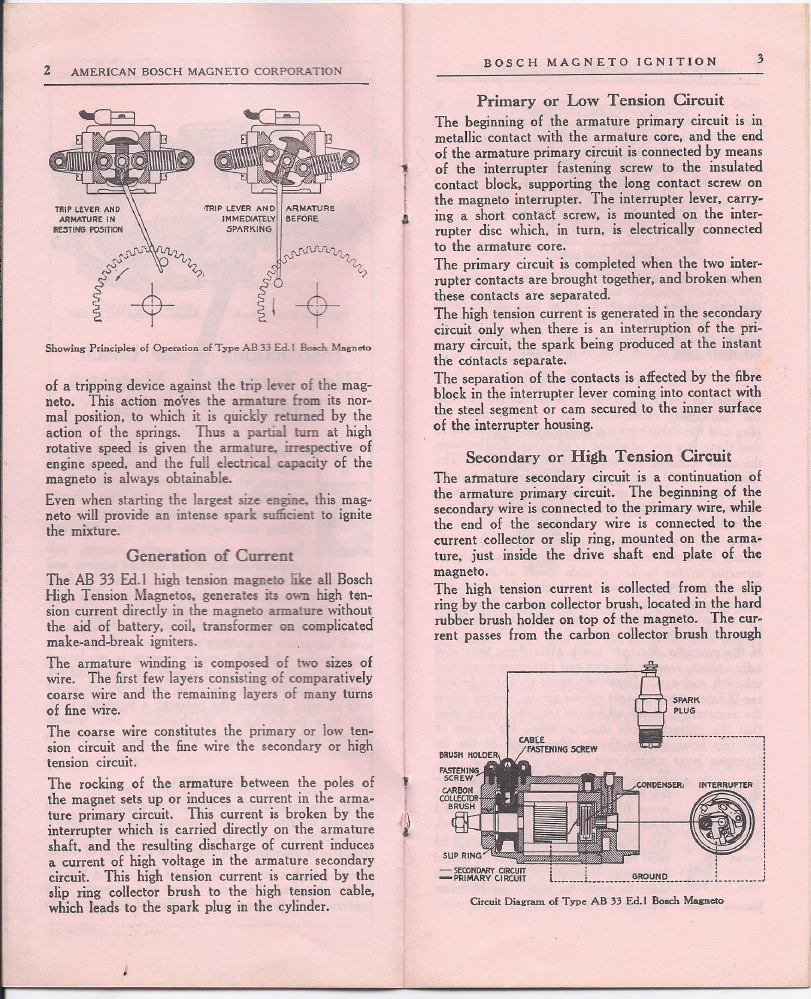
Always be careful when reinsatlling the breaker assembly that the stamped key in the breaker indexes in the slot of the armature or the stamped key may be damaged.
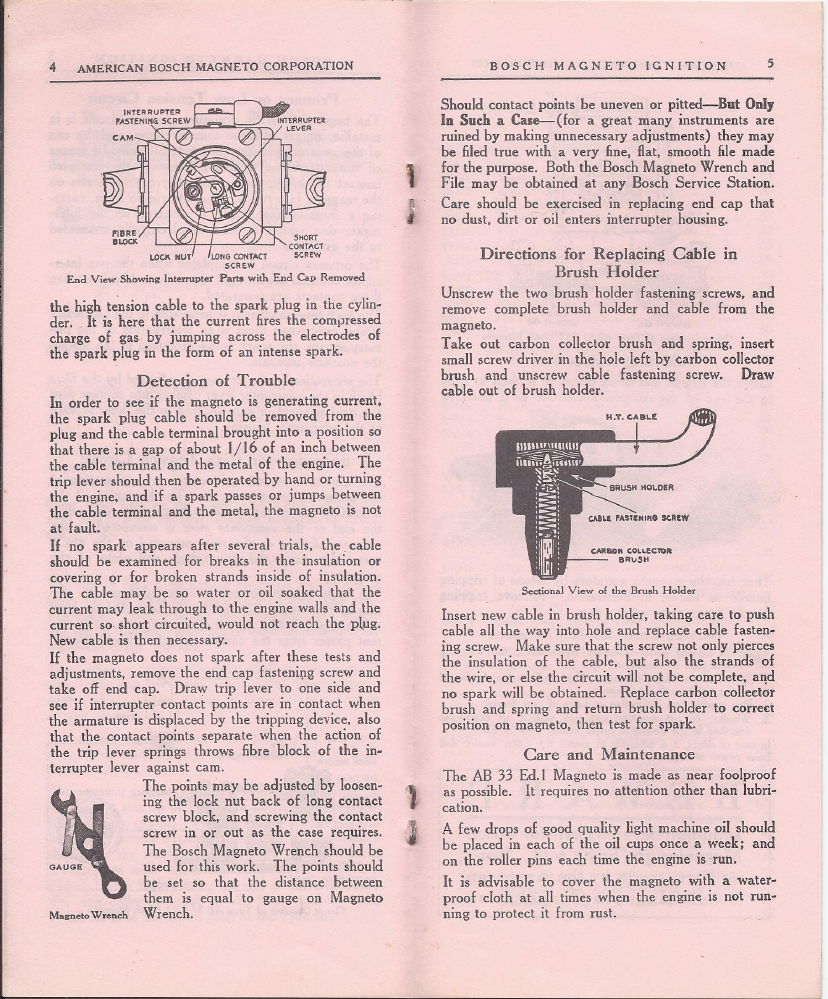
To remove the plugwire one must carefully remove the brush and spring and back out a tiny pointy 3MM metric screw that pokes into the wire then pull the old wire out as described in the manual. Use a well fitting screwdriver and patience. If you find a strange small wrench like that pictured in the manual at a flea mart or swapmeet, it is worth picking up as these have the points feeler gauge and fit the metric points mounting screw as well as that almost unreachable 7MM points adjusting screw and locknut. With use the breaker can get oily from the exposed con rod action and need a shot of brake or electric motor cleaner. We usually do this with ours about every year after the show season and sitting all winter and all is usually well. If the points need cleaning We like to carefully remove the breaker lever and polish the contacts with a cratex rubber abrasive stick and polish to a mirror finish so they stay clean.This is described in the section covering the Wico EK. This can be done by removing the small metric screw that anchors the point spring, careful not to lose it or crossthread when reassembling. To service the stationary contact, remove the screw that holds it to the breaker assembly base with care not to lose or damage the fragile mica washers under it.
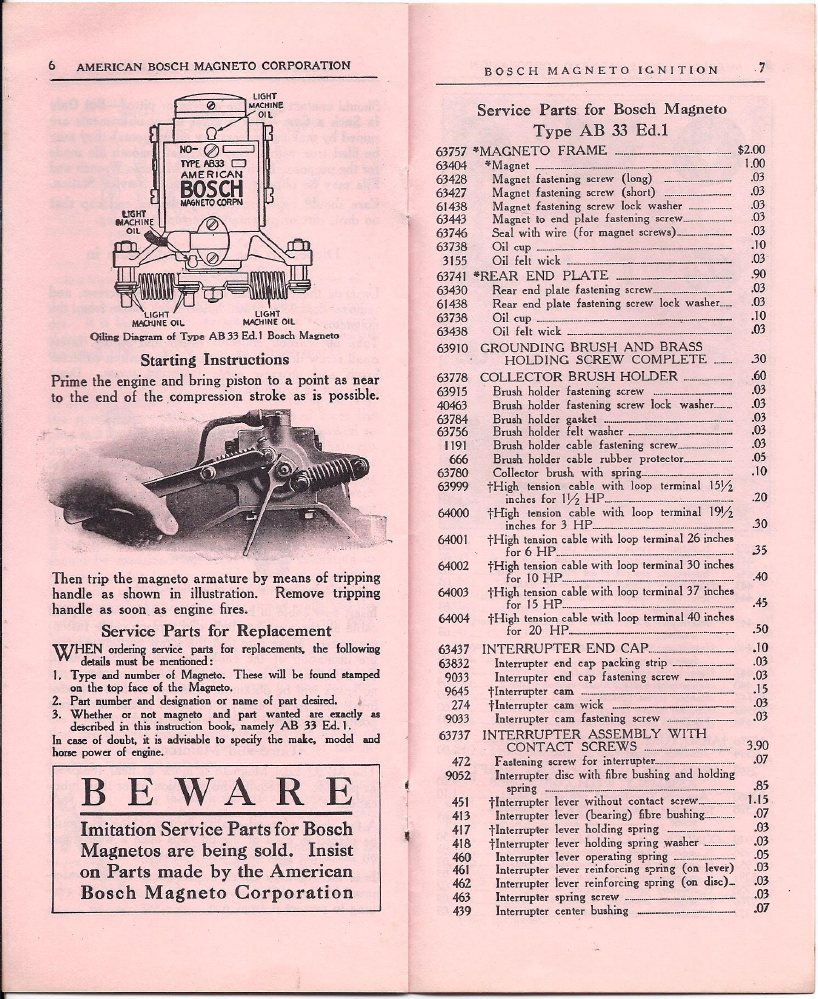
The slotted brass plug right behind the rear oilcup is a grounding brush. If it does not come out easily, use a small handheld impact driver with a well fitting slotted bit and give it a smack. This is a metric threaded plug. If you find imitation parts for American Bosch magnetos, please let us know where to find them!
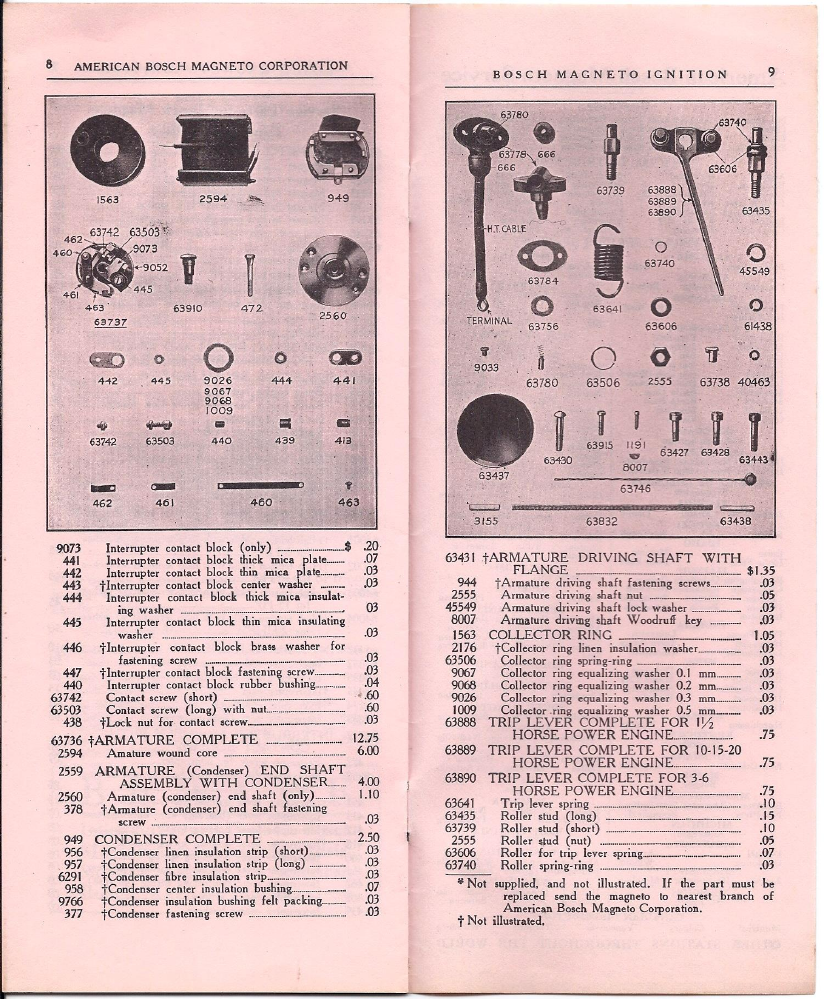
The AB34 armature is riveted together. Another move to manufacture on the cheap. Annoying but manageable.
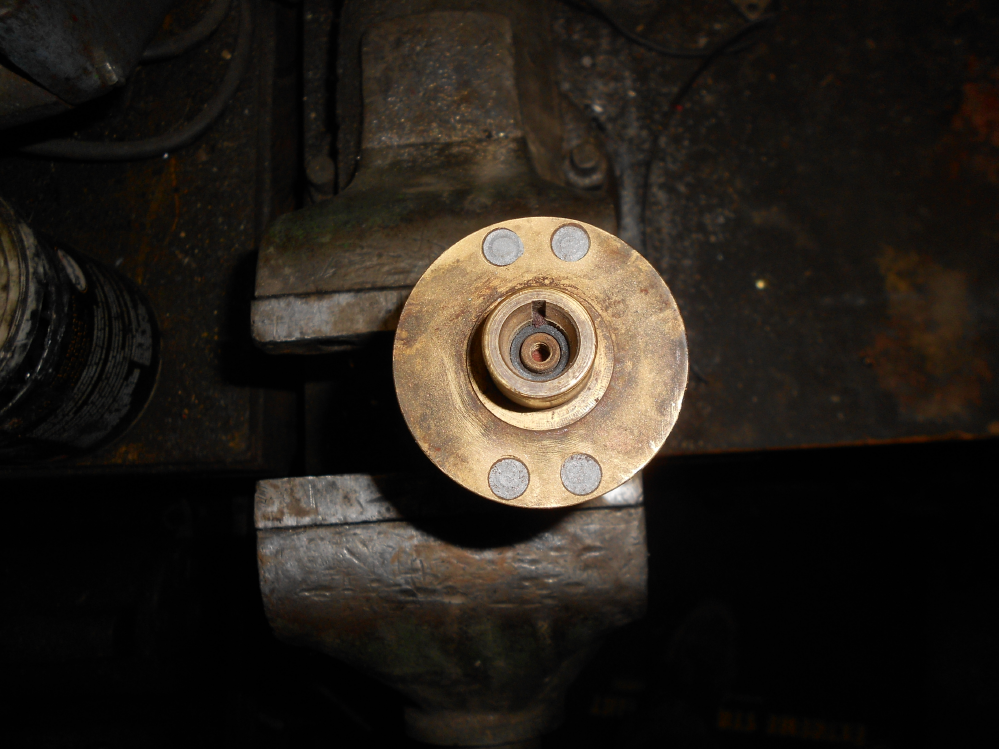
AB34 postmortem examination with swaged rivets exposed. The rivets have a 3.5MM shank and can usually be driven out by centerpunching and drilling through the countersunk head with a drill slightly smaller than 3.5mm to avoid digging into the brass endcap. A good smack with a tapered punch will usually shear off the head, then drive out the rivet with a straight punch.
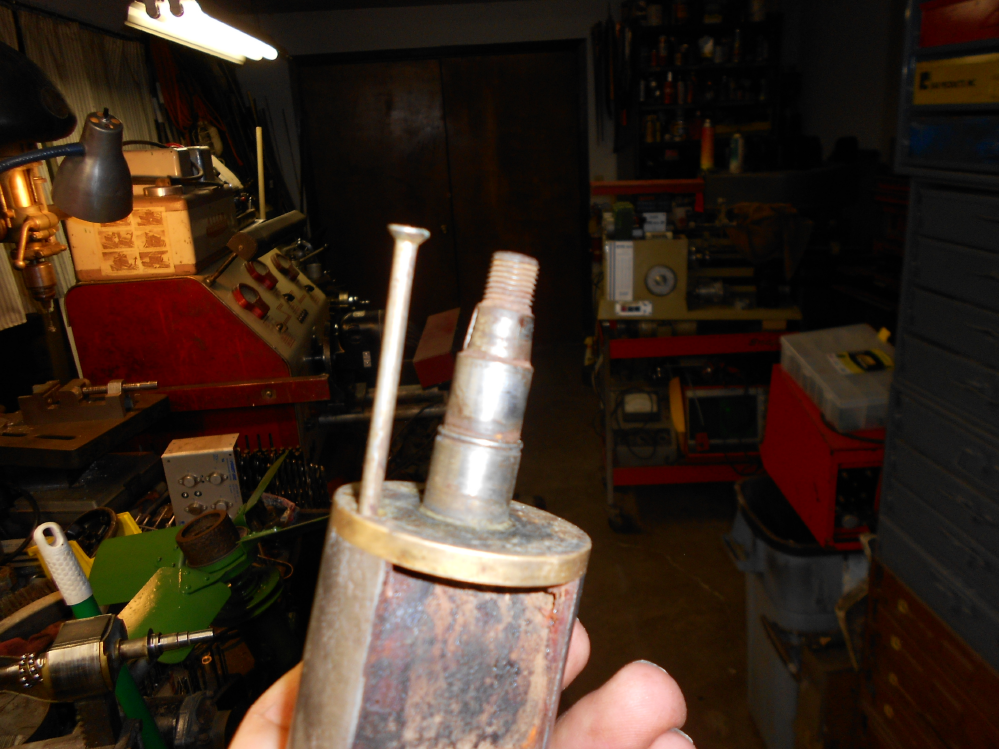
When all four rivets are out, make a note or mark showing the orientation of the base with the condenser and the driven end with the high tension leadout before pulling apart.
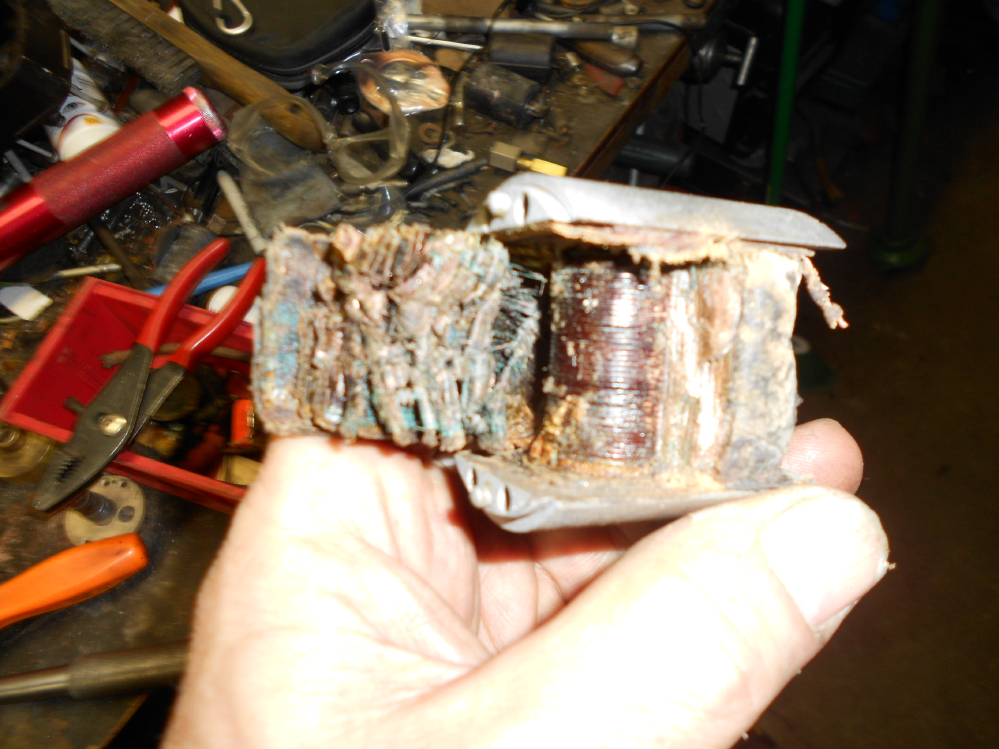
This one somewhere in the distant past glued itself to the housing from insulation seepage then got far too much Oregon Rain causing the bluegreen tinged copper oxides visible in the windings. With modern wire, insulation, and reasonable care it should last a very long time.
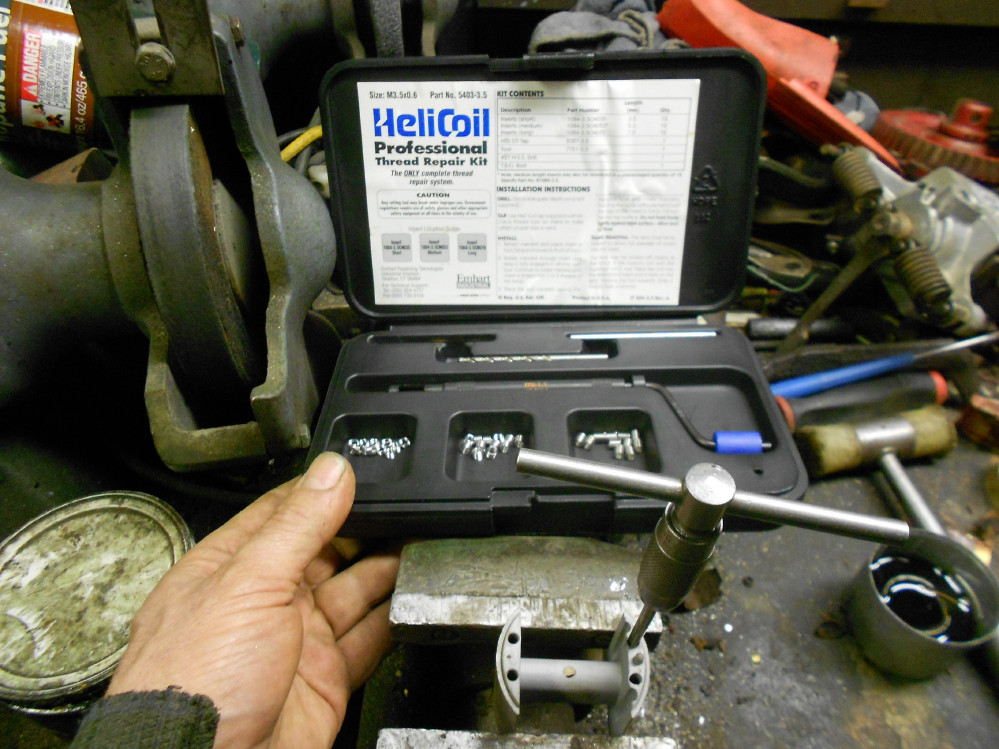
Helicoil to the rescue. We would be in a world of hurt without these or the Recoil system. There is not much meat to oversize and the holes are very close to the edge. The rivets have a 3.5MM shank and probably emulate the original design using a 3.5MMx.6 flat headed machinescrew. These screws have standard metric threads and readily available.
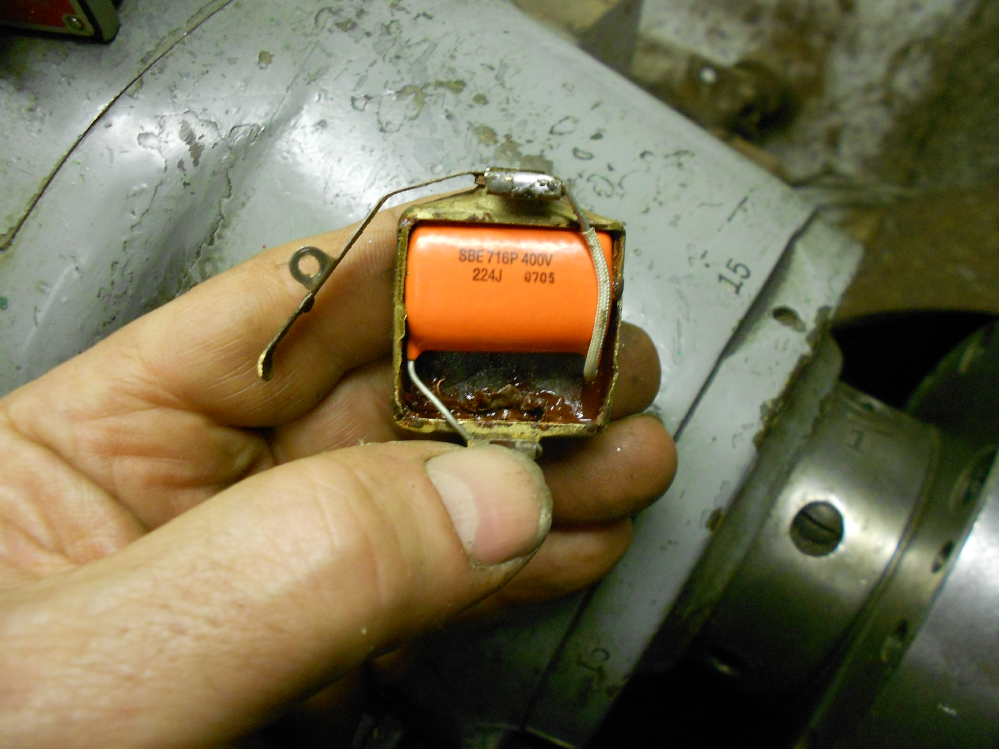
The condenser also suffered from the Lloyd Bridges/Jacques Cousteau motif and soaked up moisture causing electrical leakage and failure. This is a retrofit using a Sprague/Vishay/SBE hermetically sealed 0.22MFD 400Volt polypropylene film capacitor. These are better known back in the day as orange drops. The orange drops that use a polypropylene film insulation are best suited to high spike currents that will likely be encountered when the points open in normal use. These devices are readily available from electronic parts dealers as TubesNMore formerly Antique Electronic Supply of Tempe, Arizona. If the old condenser will not come out peacefully, heat the base slightly with a propane torch or heat gun carefull not to damage the insulating paper around it and the small fragile insulating sleeve in the center of the base where the 4MMx.7 points mounting screw threads in. This procedure works well with other wound armatures using a base mounted condenser.
