There are no products listed under this category.
Shop by Category
-
Wico Magneto RX
- AX Magneto Brochure
- B Magneto RX
- F Series: F,FG,FGM,FGS
- A Magneto RX
- Condenser Information
- EK Magneto Rx
- LD and H Magneto RX
- OC Wico Magneto
- R Magneto Ignitor RX
- XH and XHD Magneto RX
- AH Wico magneto Rx
- AP Magneto RX
- C Magneto RX
- FW Series: Flywheel Magneto Service Info
- H1 Magneto RX
- J4 Manual
- JEM Manual
- PR Magneto RX
- Wico Magneto 1946 Catalog
-
Wico Magneto Application Information
- XVD-4 and XVD-6
- Bendix
- Berling Magnetos
-
Bosch, American Bosch, and Robert Bosch
-
American Bosch
-
Am Bosch Mags Ca 1945 MJA MJB MJC MVA MJK
- MRA Magneto American Bosch
- MRF American Bosch Magneto
- DU1,DU2,DU4..Ad nauseum Bosch Catalog 50
- Flywheel Magnetos by American Bosch
- Impulse Coupler RX
- Instruction Book & Agents 1925 Am Bosch
- Service Manual American Bosch Magneto 1928
- ZR4 For Ingersoll Rand Compressor
- ZR4 ZR6 Instruction Manual
- AB 33 and some mumblings on the AB34
- Application Information
- AT4 AT6 Bosch Magneto Instruction Parts Manual
- B4 + B6 Manual
- Bosch Magneto Service Parts List 1922
- DU Service Manual
- FX1 American Bosch Magneto Parts List
- Home of the Bosch Magneto
- MRD Am Bosch Magneto Service Manual
- MVA American Bosch Magneto Instruction Manual
- U1 U2 U4 U6 Debut Whatsa Matter U?
- ZR4 Service manual
-
Am Bosch Mags Ca 1945 MJA MJB MJC MVA MJK
- Bosch
- Robert Bosch
-
American Bosch
-
Edison Magneto
-
Eisemann
- CM4/CT4 Eisemann Magneto Instructions
-
Flywheel Magnetos by Eisemann
- Eisemann 61-D flywheel magneto
- Eisemann 61Cflywheel Mag
- eisemann 61DA Flywheel magneto
- Eisemann 61DC flywheel magneto
- Eisemann 61DE Flywheel magneto
- Eisemann 61DF Flywheel magneto
- Eisemann 61DH Flywheel magneto
- Eisemann 61NA flywheel magneto
- Eisemann 62-D Flywheel magneto
- Eisemann 72C Flywheel Magneto
- Eisemann 72D Maytag Magneto
- Eisemann 72DA Maytag Magneto Service
- Eisemann 82-D and 82-F Flywheel Mags
- M4G6 Eisemann Magneto Generator
- AM Series
- Automatic Spark Control Early
- CM-4 Caterpillar Magneto Service + Parts Manual
- CT-4 Caterpillar Magneto Service & Parts Manual
- EB
- ED EU EA
- Eisemann Catalog 1920
- Eisemann Catalog with Accessories
- Eisemann catalog 1915
- Eisemann- Caterpillar Parts Info
- EM Dual
- EM for Model T Ford
- G0 G1 G2 Service and Parts Manual
- G4
- GL Series Service & Parts Manual
- GL1 GL2 GLF1 GLF2
- GL4 GL2H
- GN6 Edition 3 Manual
- GN6 Edition 4
- GR4 Ed 2 magneto parts&Service manual
- GS Series
- GV Series Service and Parts Manual
- GV-4 GV-2H GV-2Q
- GV-6 Eisemann magneto
- RC/RT Series
-
Fairbanks Morse
- Fairbanks Morse Illustrated parts 1983 Sec 4
- Fairbanks Morse Magneto Application Information
- Fairbanks Morse Model "R" RX
- FM FM-H FM-K FMO FM-OH Heavy Duty Series RX
- FM-J1A.. FM-J1B.. Radio Shld 9864A
- FMJ Series Parts List 1947 Bulletin 9846B
- FMJ1A Instructions 1947 Bulletin 2888B
- FMJ1A.. FMJ1B.. 1947 Bulletin 2864B
- FMJ2 Series 2854C
- FMJ4A,B Instructions 1942 Bulletin 2846A
- FMJH Series: Mercury/Disston/Kiekhafer 9871A
- FMJV4B Wisconsin V4 Engine
- FMX. Series: AKA the Updated FMJ series
- Magnetizing Fairbanks Morse Magnetos
- RV RX
- Heinze AX & BX Magneto
- Ignition and Truck Profits
- International Harvester Magneto Rx
-
K-W Ignition Company Magnetos
- K-W Ignition Magneto Instruction Book 3Rd Ed
- K-W Low tension Magnetos catalog 19
- K-W Model J Magneto Manual
- K-W Model T and TK Magneto Instruction Book
- K-W O F Oscillating Magneto Manual
- K-W T TK TU TUK Magneto Catalog Ed 8
- K-W T TK TU TUK Magneto Manual Edition 6
- KW Magneto Promo What Makes Tractor Go?
- Perfection Magneto Company
- Pittsfield type B Magneto
- Remy
- Simms Magneto
- Simms Motor Units Catalog 1940
-
Splitdorf
- C Magneto Specifications
- C Magneto manual
-
Dixie and Aero Magnetos
- Dixie 46 246 462 Magneto Parts List
- Aero 448 449 648 649 Magneto
- Aero AE Magneto Manual
- Aero Magneto Catalog 1925
- Dixie 235 Oscillating Magneto
- Dixie 40 42 and 44 Magneto Manual N-404A 1919
- Dixie 46 Magneto Manual N-403C 1919
- Dixie 8 Cylinder Magnetos #83-86
- Dixie Aero Service Info
- Dixie Magneto Model 60 and 63 Catalog 1915
- Dixie Splitdorf Magneto Catalog N-401
- Splitdorf 46T and EM Impulse Starter
- Splitdorf Dixie M1 & M2 Magneto
- NS-1-2550 Magneto parts List
- NS-2 Magneto Parts list
- NS-4 Magneto parts List
- S-2 Magneto Parts List
- S-4 Magneto parts List
- SS-4 Magneto Parts List
- SS-6 Magneto Parts List
- SS-6-2 Magneto Parts List
- SSO Magneto Parts List
- AE
- Cross Country On Motorcycle
- NS Motorcycle Magneto Manual
- S NS SS B Magneto Service Manual
- Splitdorf Apelco Starting Lighting
- Splitdorf catalog 1910
- Splitdorf catalog 51 1913
- Splitdorf Magneto catalog 52 1914
- Splitdorf Magneto catalog 53 Models EU & EV
- Splitdorf Magneto catalog 57 1914
- Splitdorf Wiring Diagrams 1914
- U & V Splitdorf Magneto manual 1912
- Sumter Magneto Rx
- Webster
-
Wico Magneto RX
- AX Magneto Brochure
- B Magneto RX
- F Series: F,FG,FGM,FGS
- A Magneto RX
- Condenser Information
- EK Magneto Rx
- LD and H Magneto RX
- OC Wico Magneto
- R Magneto Ignitor RX
- XH and XHD Magneto RX
- AH Wico magneto Rx
- AP Magneto RX
- C Magneto RX
- FW Series: Flywheel Magneto Service Info
- H1 Magneto RX
- J4 Manual
- JEM Manual
- PR Magneto RX
- Wico Magneto 1946 Catalog
- Wico Magneto Application Information
- XVD-4 and XVD-6
- Bendix
- Berling Magnetos
- Bosch, American Bosch, and Robert Bosch
- Edison Magneto
-
Eisemann
- CM4/CT4 Eisemann Magneto Instructions
- Flywheel Magnetos by Eisemann
- M4G6 Eisemann Magneto Generator
- AM Series
- Automatic Spark Control Early
- CM-4 Caterpillar Magneto Service + Parts Manual
- CT-4 Caterpillar Magneto Service & Parts Manual
- EB
- ED EU EA
- Eisemann Catalog 1920
- Eisemann Catalog with Accessories
- Eisemann catalog 1915
- Eisemann- Caterpillar Parts Info
- EM Dual
- EM for Model T Ford
- G0 G1 G2 Service and Parts Manual
- G4
- GL Series Service & Parts Manual
- GL1 GL2 GLF1 GLF2
- GL4 GL2H
- GN6 Edition 3 Manual
- GN6 Edition 4
- GR4 Ed 2 magneto parts&Service manual
- GS Series
- GV Series Service and Parts Manual
- GV-4 GV-2H GV-2Q
- GV-6 Eisemann magneto
- RC/RT Series
-
Fairbanks Morse
- Fairbanks Morse Illustrated parts 1983 Sec 4
- Fairbanks Morse Magneto Application Information
- Fairbanks Morse Model "R" RX
- FM FM-H FM-K FMO FM-OH Heavy Duty Series RX
- FM-J1A.. FM-J1B.. Radio Shld 9864A
- FMJ Series Parts List 1947 Bulletin 9846B
- FMJ1A Instructions 1947 Bulletin 2888B
- FMJ1A.. FMJ1B.. 1947 Bulletin 2864B
- FMJ2 Series 2854C
- FMJ4A,B Instructions 1942 Bulletin 2846A
- FMJH Series: Mercury/Disston/Kiekhafer 9871A
- FMJV4B Wisconsin V4 Engine
- FMX. Series: AKA the Updated FMJ series
- Magnetizing Fairbanks Morse Magnetos
- RV RX
- Heinze AX & BX Magneto
- Ignition and Truck Profits
- International Harvester Magneto Rx
-
K-W Ignition Company Magnetos
- K-W Ignition Magneto Instruction Book 3Rd Ed
- K-W Low tension Magnetos catalog 19
- K-W Model J Magneto Manual
- K-W Model T and TK Magneto Instruction Book
- K-W O F Oscillating Magneto Manual
- K-W T TK TU TUK Magneto Catalog Ed 8
- K-W T TK TU TUK Magneto Manual Edition 6
- KW Magneto Promo What Makes Tractor Go?
- Perfection Magneto Company
- Pittsfield type B Magneto
- Remy
- Simms Magneto
- Simms Motor Units Catalog 1940
-
Splitdorf
- C Magneto Specifications
- C Magneto manual
- Dixie and Aero Magnetos
- NS-1-2550 Magneto parts List
- NS-2 Magneto Parts list
- NS-4 Magneto parts List
- S-2 Magneto Parts List
- S-4 Magneto parts List
- SS-4 Magneto Parts List
- SS-6 Magneto Parts List
- SS-6-2 Magneto Parts List
- SSO Magneto Parts List
- AE
- Cross Country On Motorcycle
- NS Motorcycle Magneto Manual
- S NS SS B Magneto Service Manual
- Splitdorf Apelco Starting Lighting
- Splitdorf catalog 1910
- Splitdorf catalog 51 1913
- Splitdorf Magneto catalog 52 1914
- Splitdorf Magneto catalog 53 Models EU & EV
- Splitdorf Magneto catalog 57 1914
- Splitdorf Wiring Diagrams 1914
- U & V Splitdorf Magneto manual 1912
- Sumter Magneto Rx
- Webster
Edison CD Service
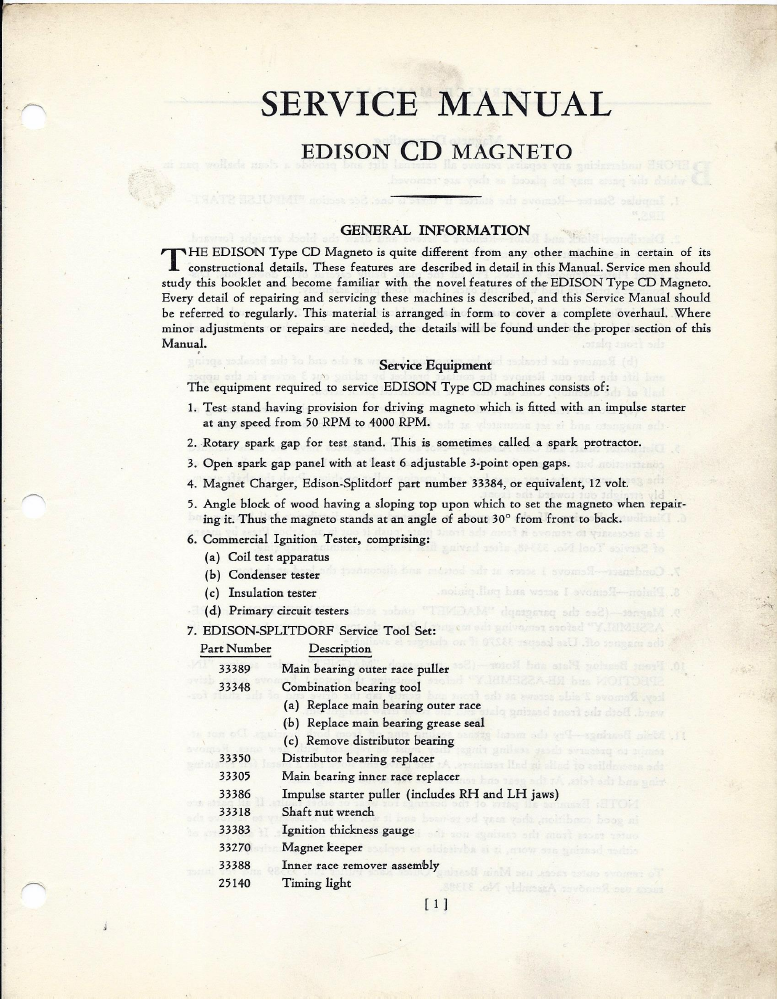
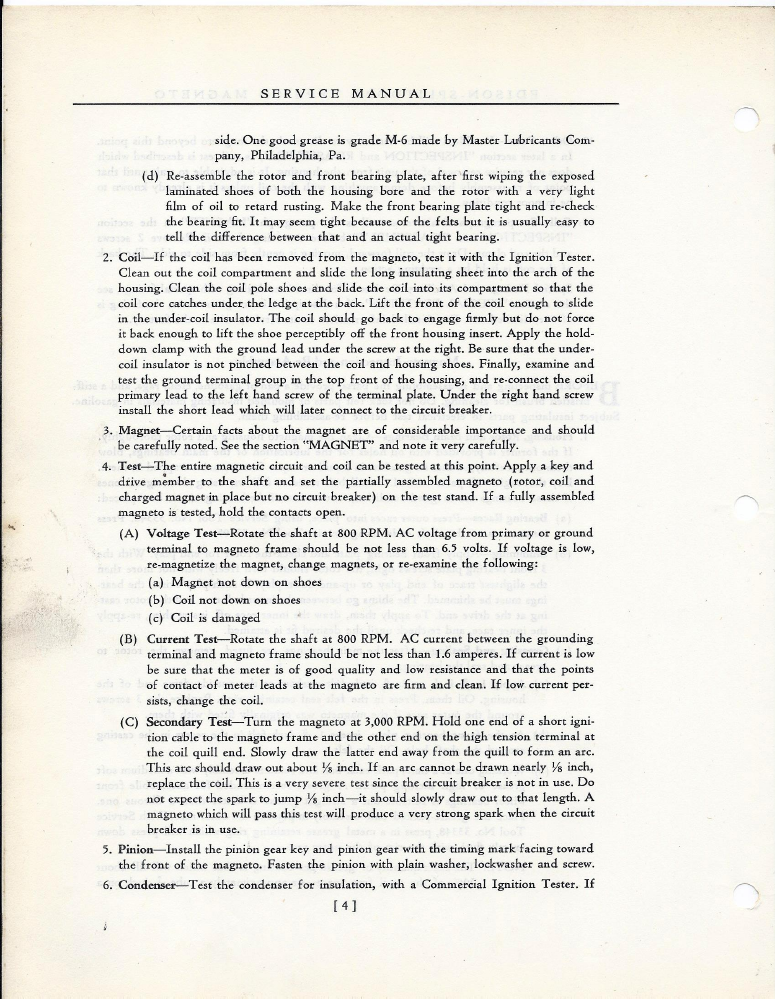
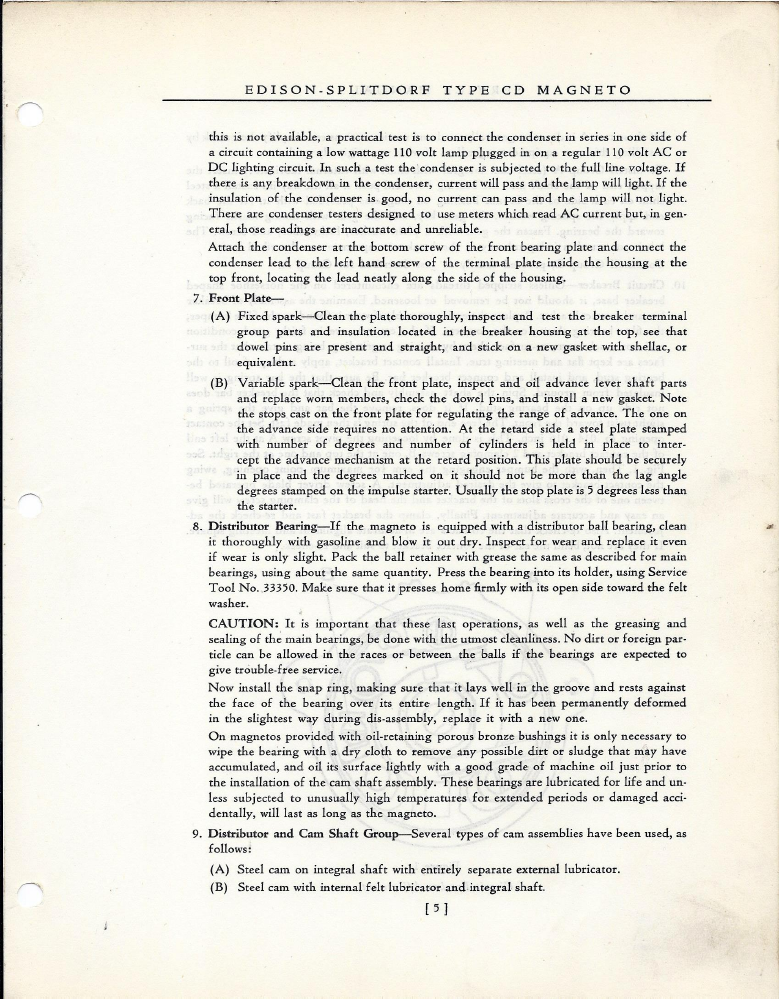
Here is a factory service manual to keep your Edison CD alive and well.
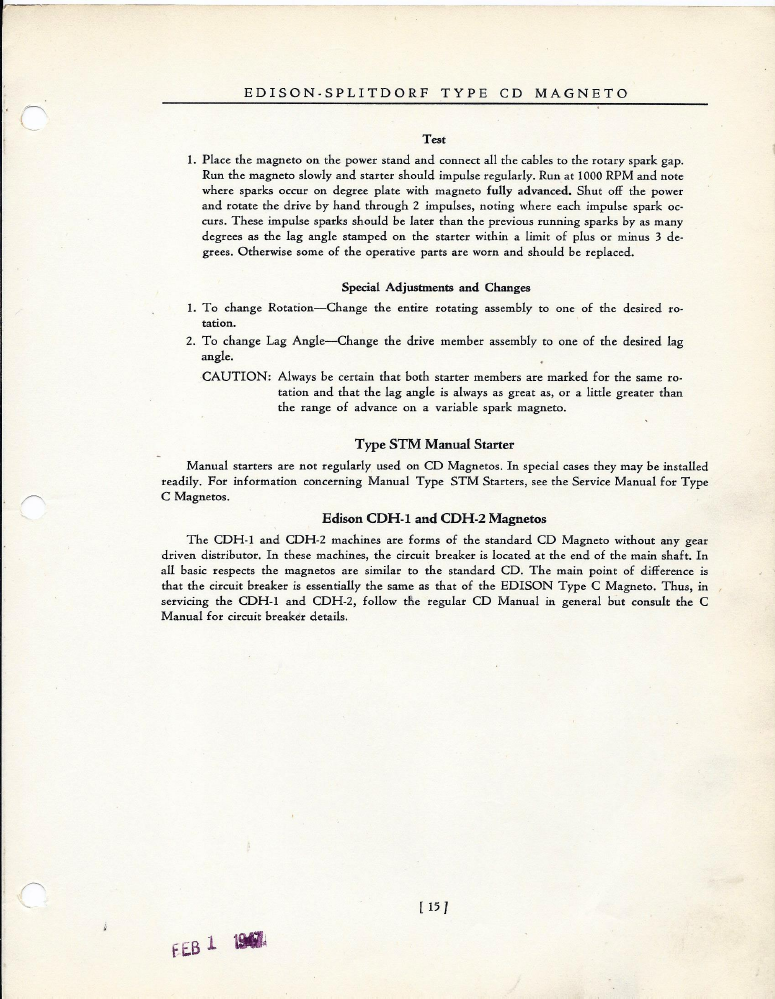
Service procedures are similar for the C,CD,and CDH as described on page 15. Parts info to follow.
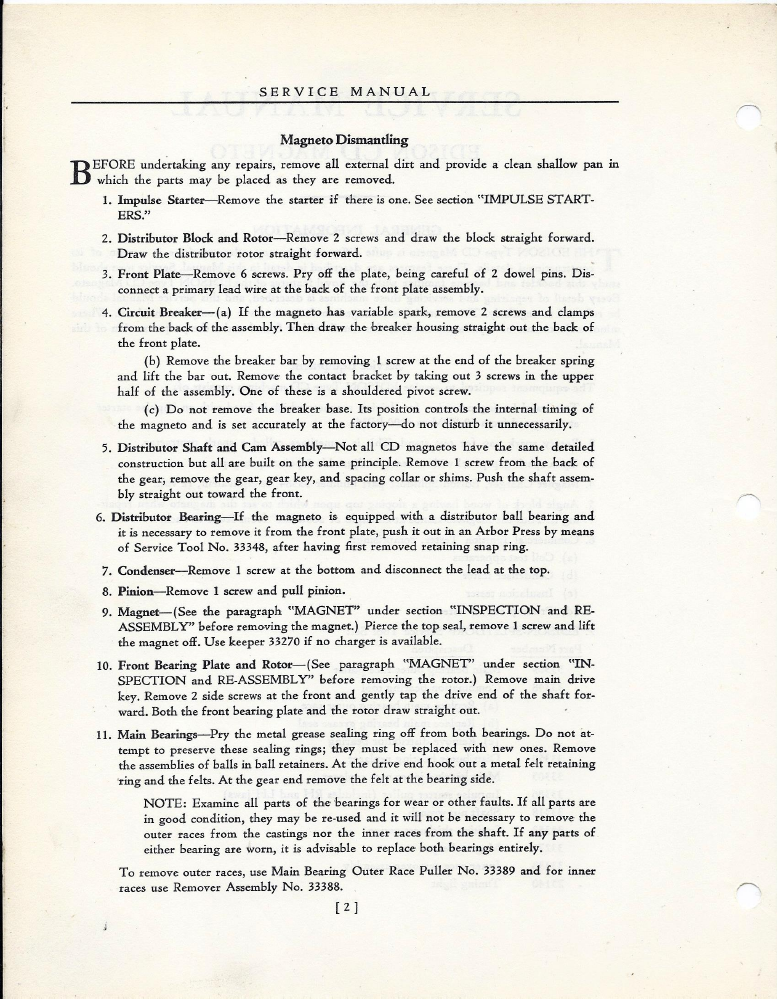
Be very careful with the metal sealing rings that hold the bearing cages and grease in place. They are made of unobtainium. Gently pry under the bearing cage with a screwdeiver and replace with the end of a deep socket after washing and repacking bearings. Check the condenser for electrical leakage with an automotive cindenser tester. They were fairly robust but if defective one can use an automotive device in its place as shown on photos below. This mag went swimming and the condenser literally rusted away in spots. One may need to splice and extend the condenser lead to reach the terminals.
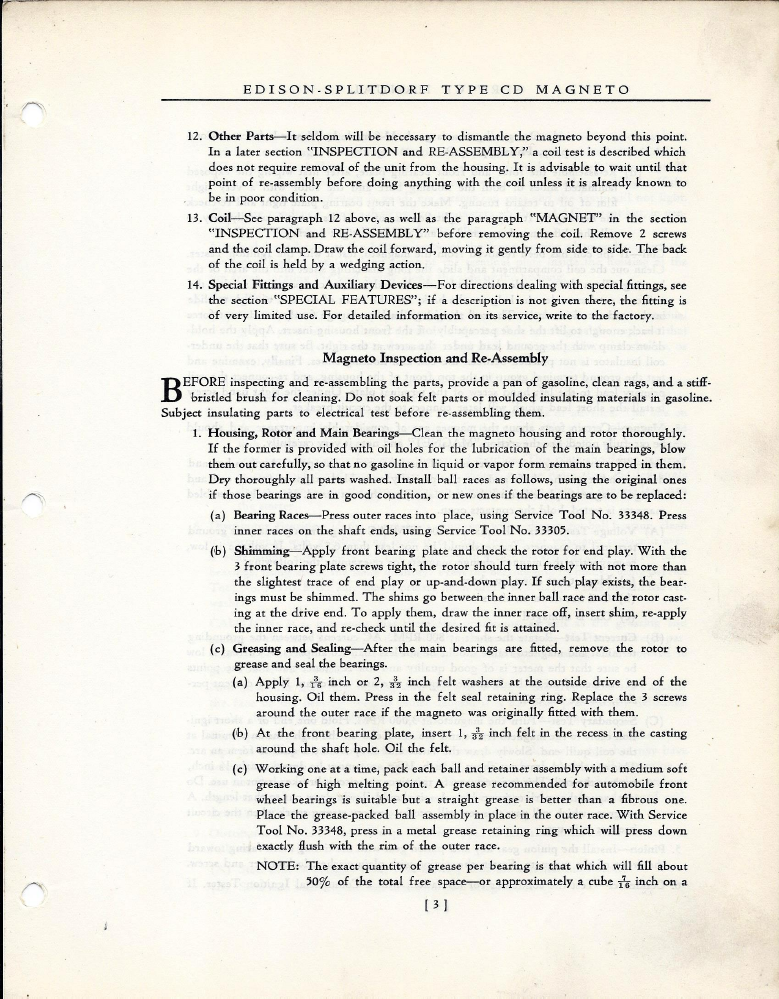
Line 4Ab describes an important issue with this model. It is possible to slide the coil fully foreward when installing causing the end to tip up and not sit flat on pole shoes. This causes an air gap and a wimpy mag.
Here is a major source of grief with this model. When the coil is set in place and slides full foreward till it stops the end tips up and leaves an air gap between the coil and magneto pole shoes as shown on the left. This will cause a wimpy spark. The best way to install the coil is to let it set down flat on the magneto pole shoes and slide it foreward, then install the clamp and screws so the pole shoes makes perfect contact as seen on the right. This one went swimming and the condenser literally rusted away and was replaced with an automotive device. These work well and usually need to be bent upward slightly to clear the armature gear. Most automotive condensers are .18-.22 Microfarad capacity and OEM Edison Splitdorf devices were .15MFD. When the Edison Splitdorf line was later acquired by Wico their replacement was 0.2MFD.
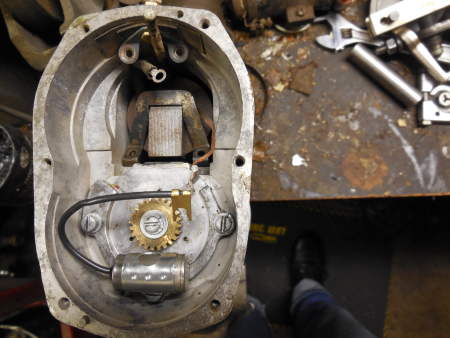
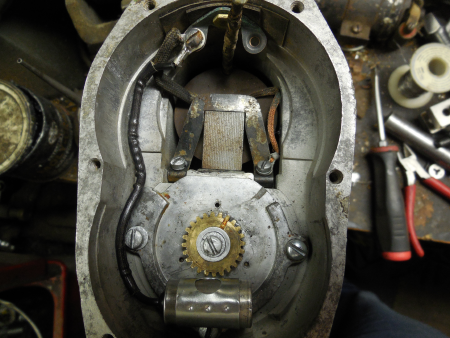
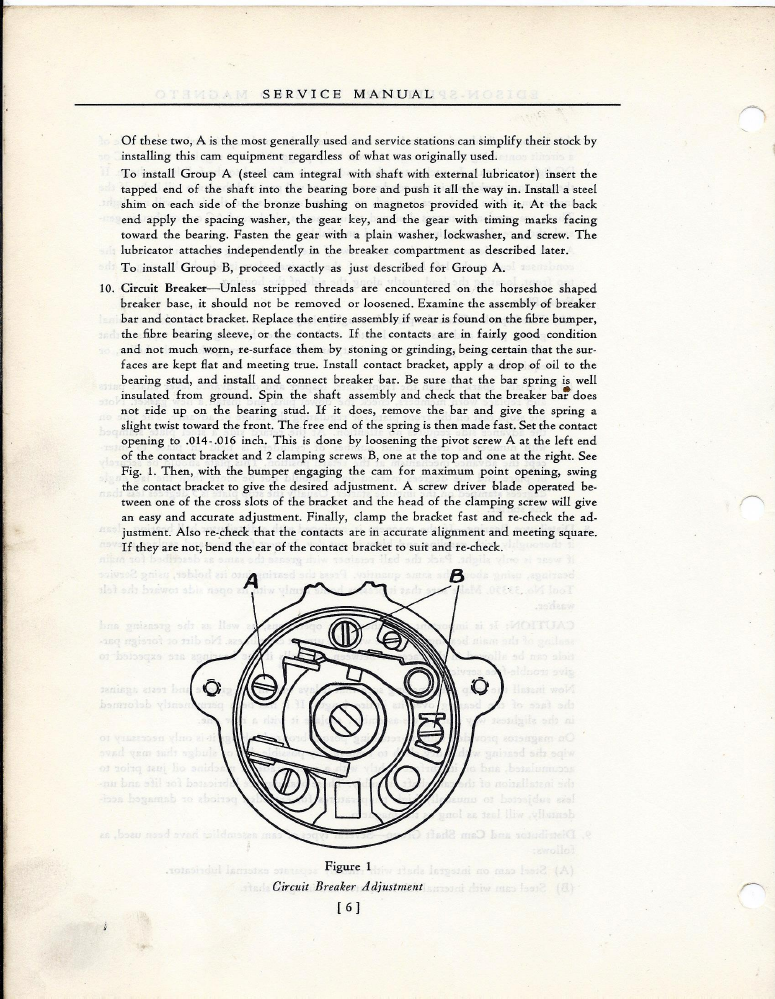
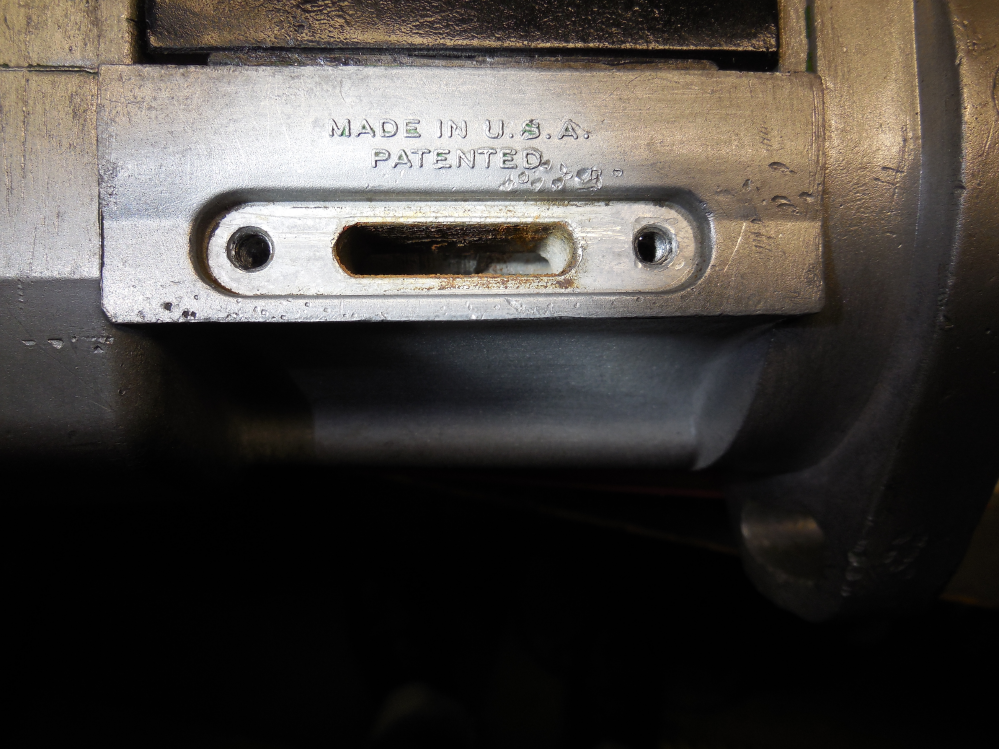
Visible at the 6 oclock position of the photo is a rectangular hole that is used to index the witness mark on the distributor gear with the mark on the fiber armature gear. Depending on the rotation it will be indexed with R or L. John Deere mags turned counterclockwise and should index in the L position. When you need to service the points do not remove the two lower screws on either side of the timing window. These are only loosened to change the edge gap (described as internal timing in service literature). When adjusting the points always loosen the lever spring mounting screw to allow movement.
Here are the gear witness marks for left hand rotation for Mother Deere.
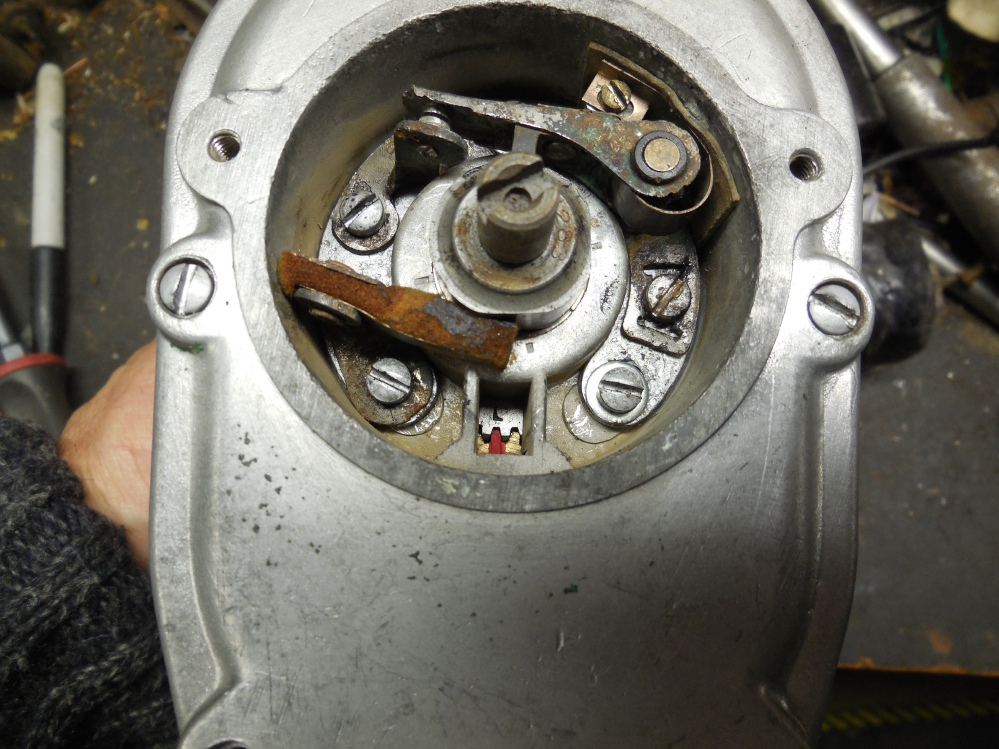
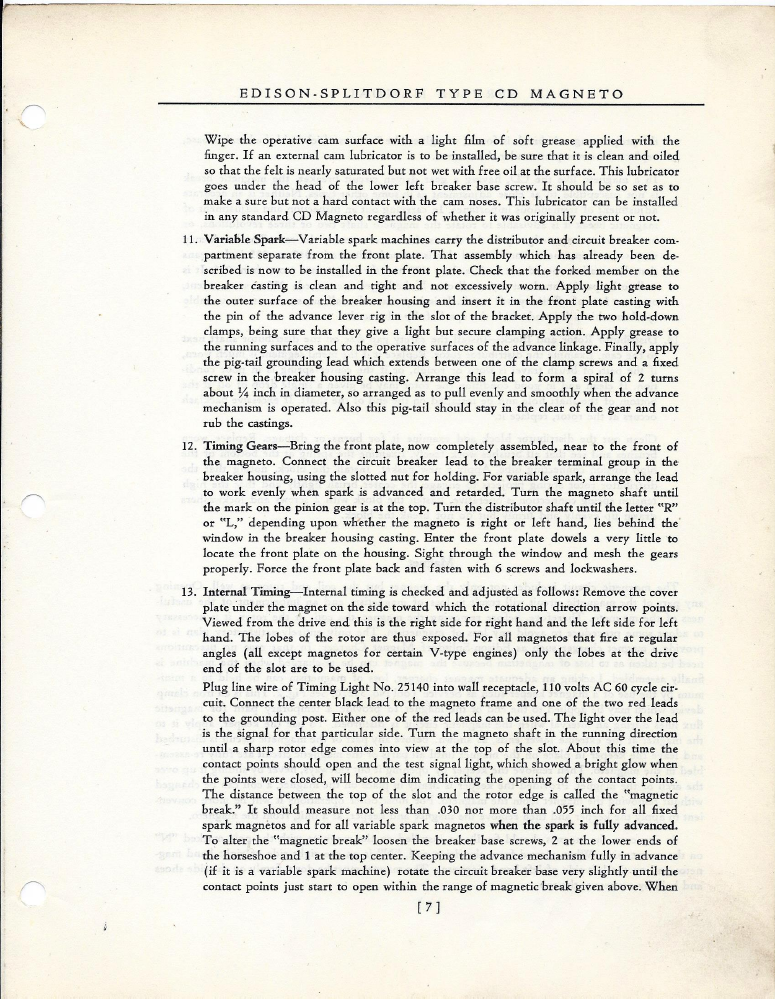
Internal timing is where we check and set the edge gap once the points are properly set. This gives the biggest bang by optimizing the timing of breaking the electrical circuit when the points open with breaking the magnetic circuit when the edge of the rotor passes the stationary pole sghoe and breaks the magnetic circuit. This adjustment usually stays put in most cases and is probably a good idea to check with a major overhaul. The 110 volt light bulb contraption looks like a good way to get a shock. Better yet disconnect the coil inside, reassemble and use an ohm meter or other continuity tester with alligator clamps connected to the case and the ground switch terminal on top. Turn the mag upside down or on its side so not to engage the impulse then slowly rotate in the direction of rotation till the points open indicated by your continuity tester and measure the edge gap width. A drill bit is a good gage. The breaker plate may be rotated advanced or retarded by loosening the three screws at the 12 Oclock,5 Oclock and 7 Oclock positions without disturbing the point clearance.
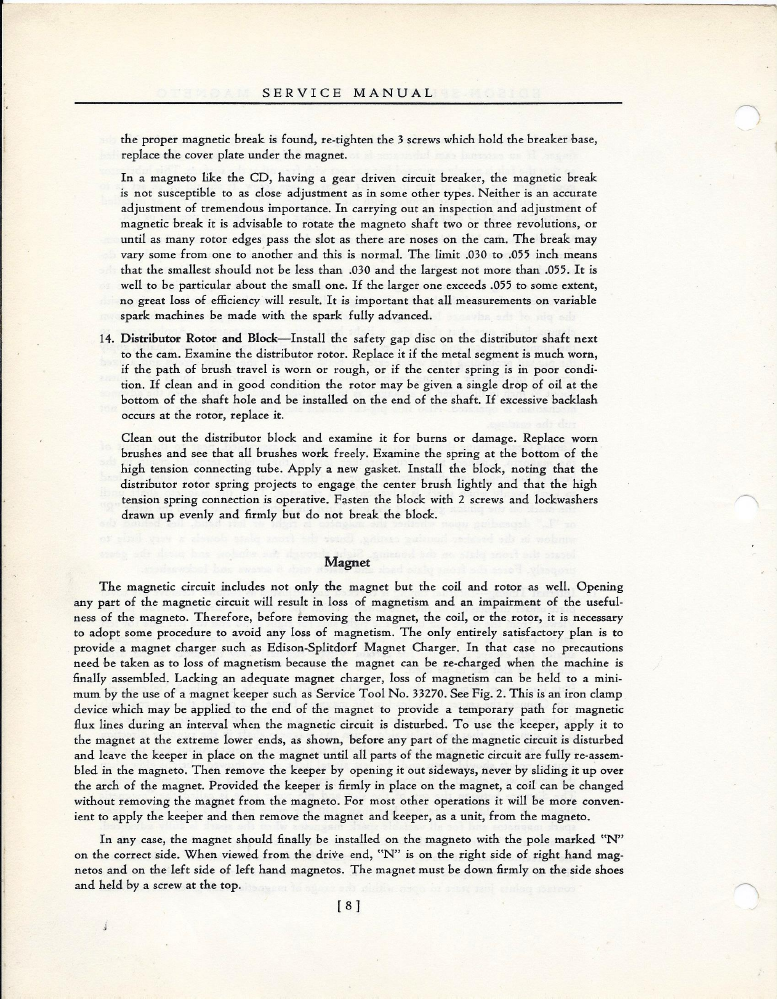
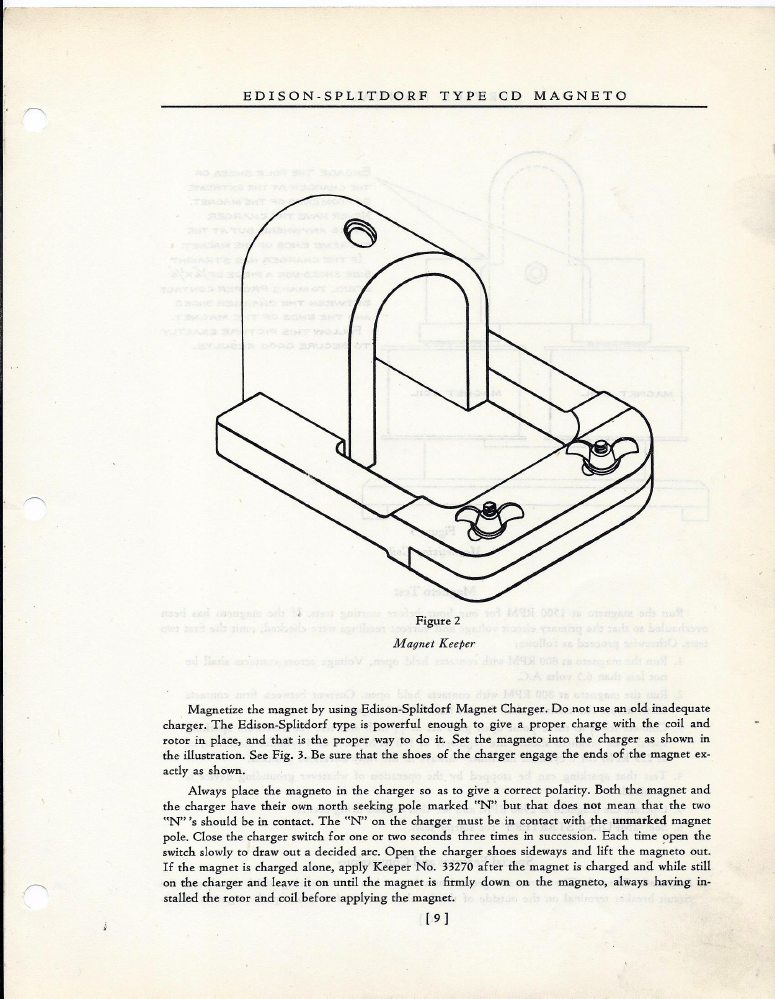
This silly contraption is an attempt at a magnet keeper. If you do not have one of these simply charge the magnet in place and rotate the armature backwards so the flux does not go through it but rather through the magnet or do it with the coil or armature removed and all will be well.
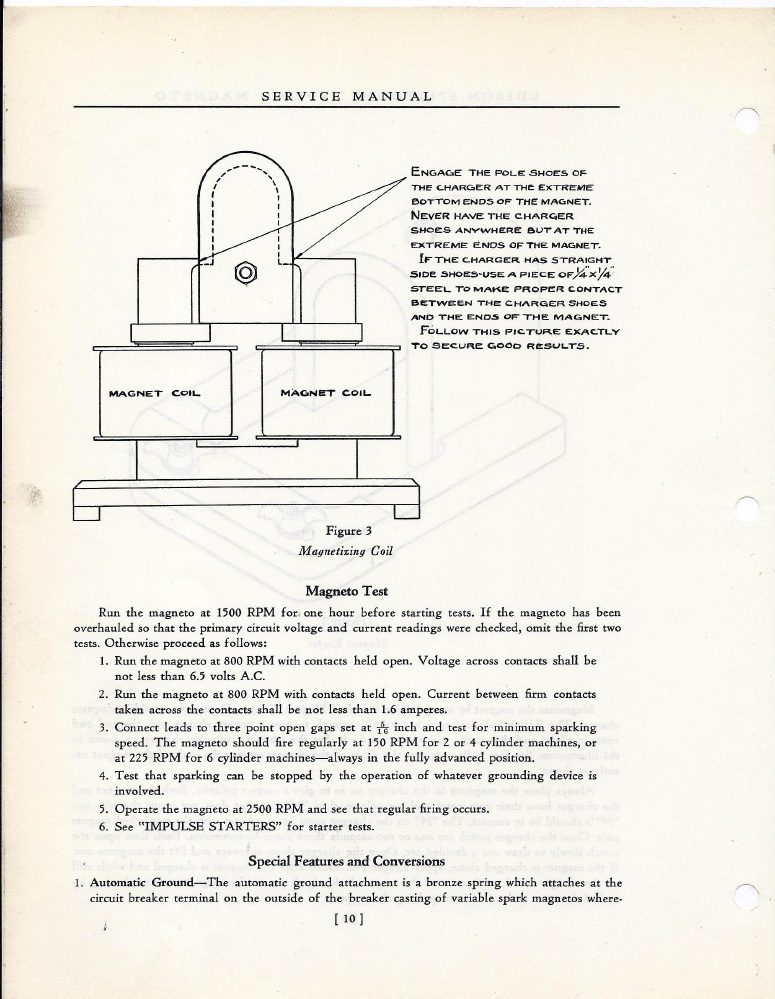
The gospel according to Mother Deere specifies that a mag should jump 9MM across a gap with a teaser ar 1000 RPM when in spec.
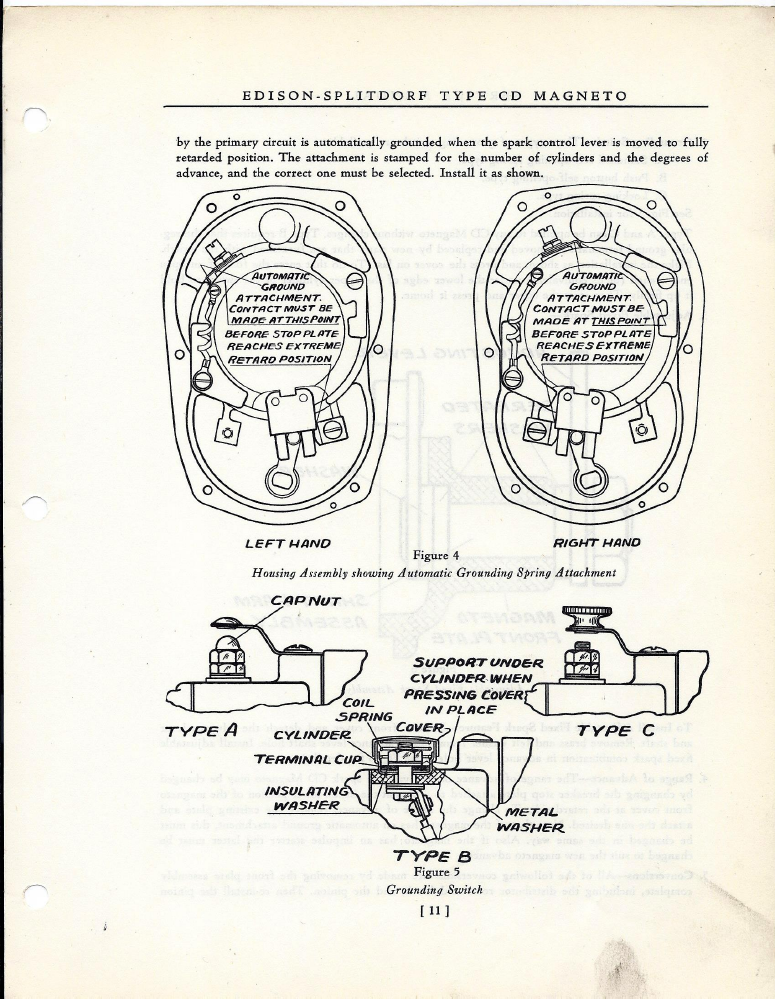
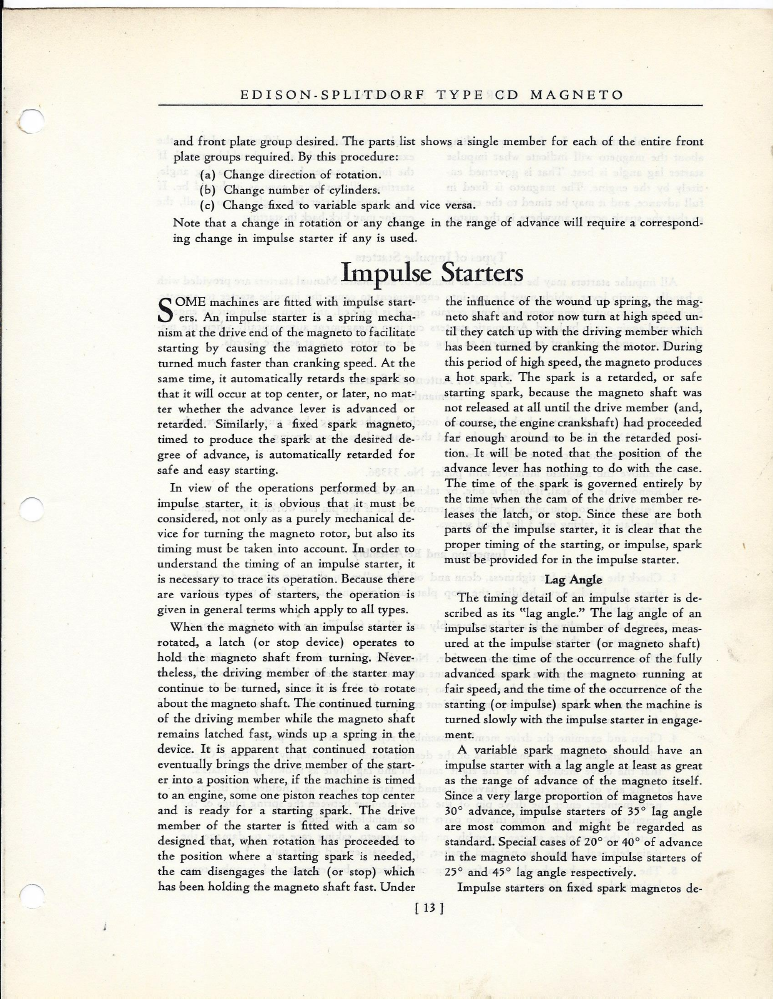
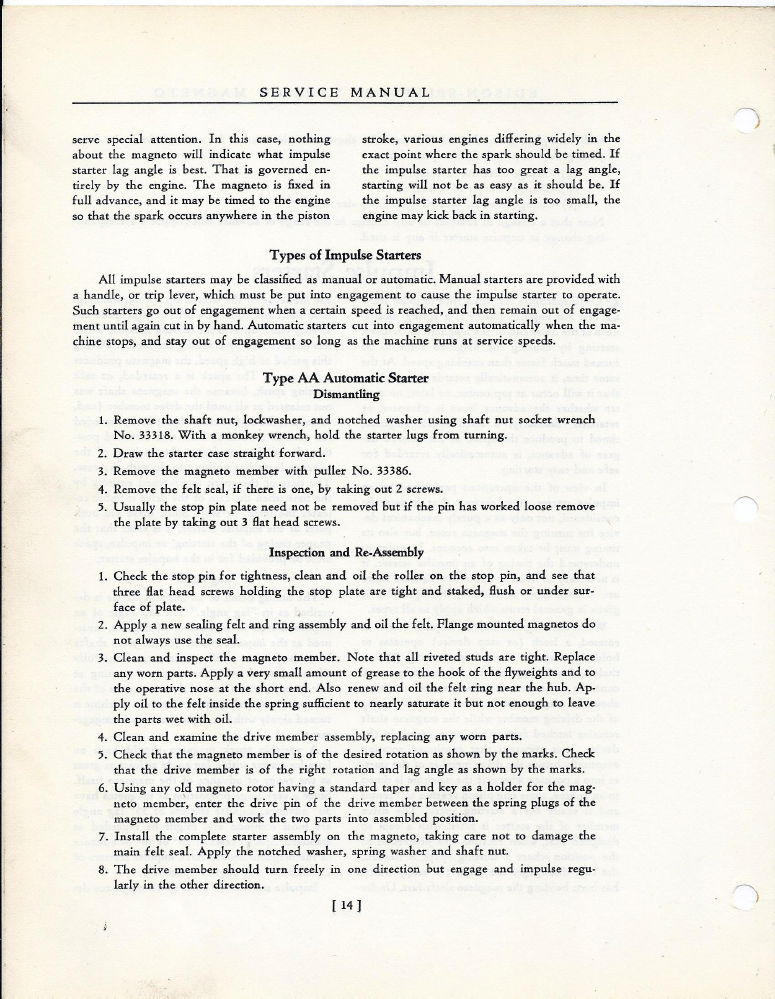
When reassembling the impulse cup onto the drive hub, the manual describes using a spare magneto armature with the key in the keyway to hold the hub to wiggle the drive cup back in. It is nearly impossible itherwise and will certainly elicit some very discouraging words.
