There are no products listed under this category.
Shop by Category
Magneto Rx:
Magneto annoyances and discouraging words were probably begat soon after the first magneto was installed. In many cases the Maggie got the blame just the same despite dirty fuel,inferior oils, cork carburetor floats, and unreliable roads and tires. Here obviously not everyone is annoyed. More troubleshooting and service info to follow.
.
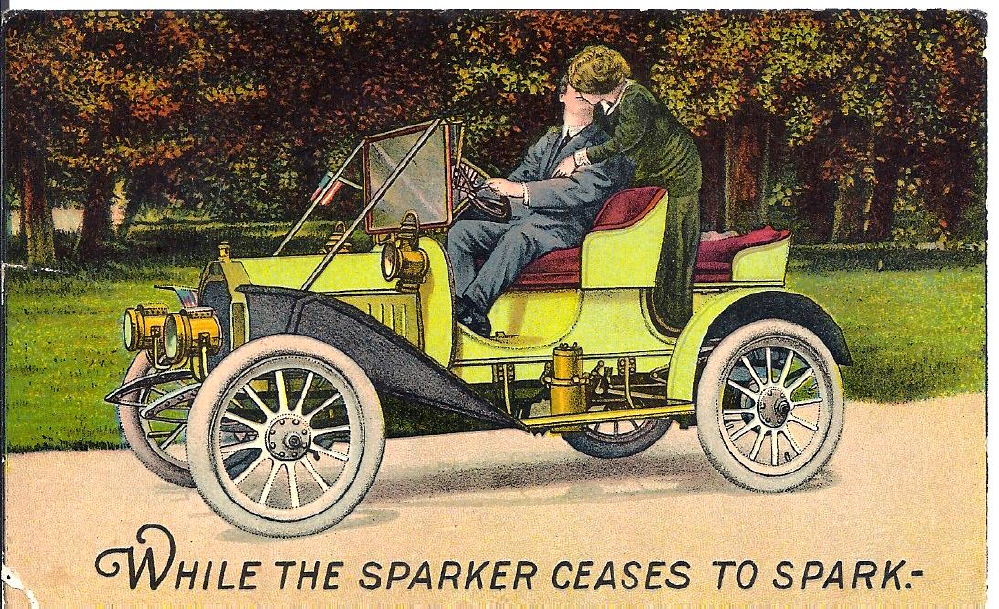
The old saying of the day was "when the magneto goes, you don't". Some were very well engineered, robustly built and survived despite abuse and neglect. Others would somewhat work when all was well electrically and mechanically and in good repair. Unfortunately, the converse is also true.
.
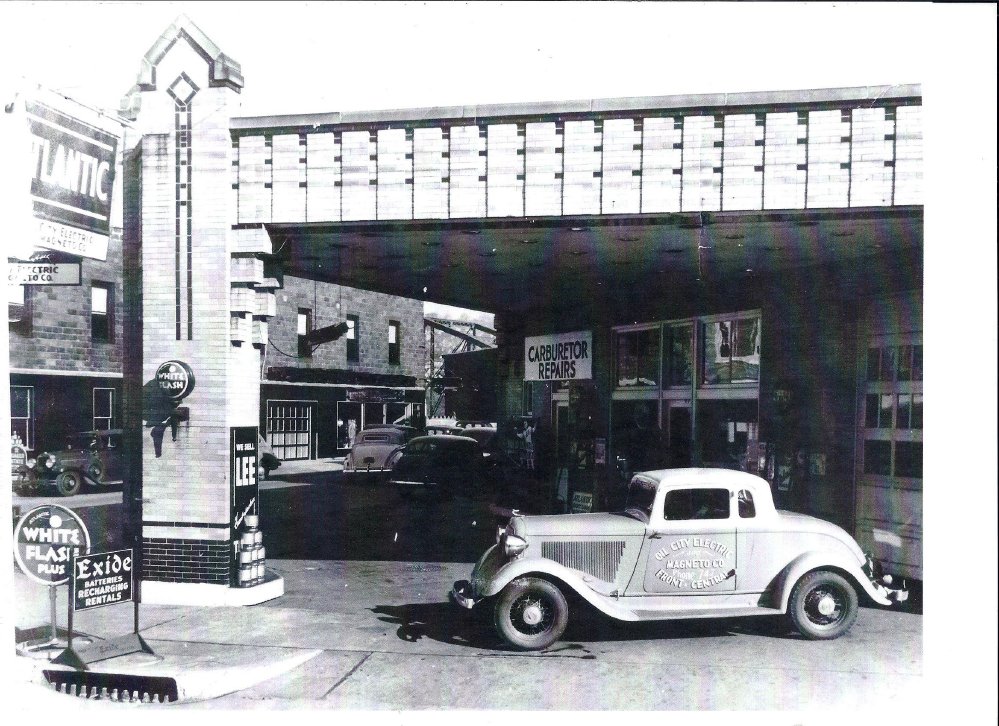
Magnetos played an important role in early ignition systems. Nearly every town had a magneto repair shop like this one in Oil City. We like the company car. Fillerup with White Flash petrol please.
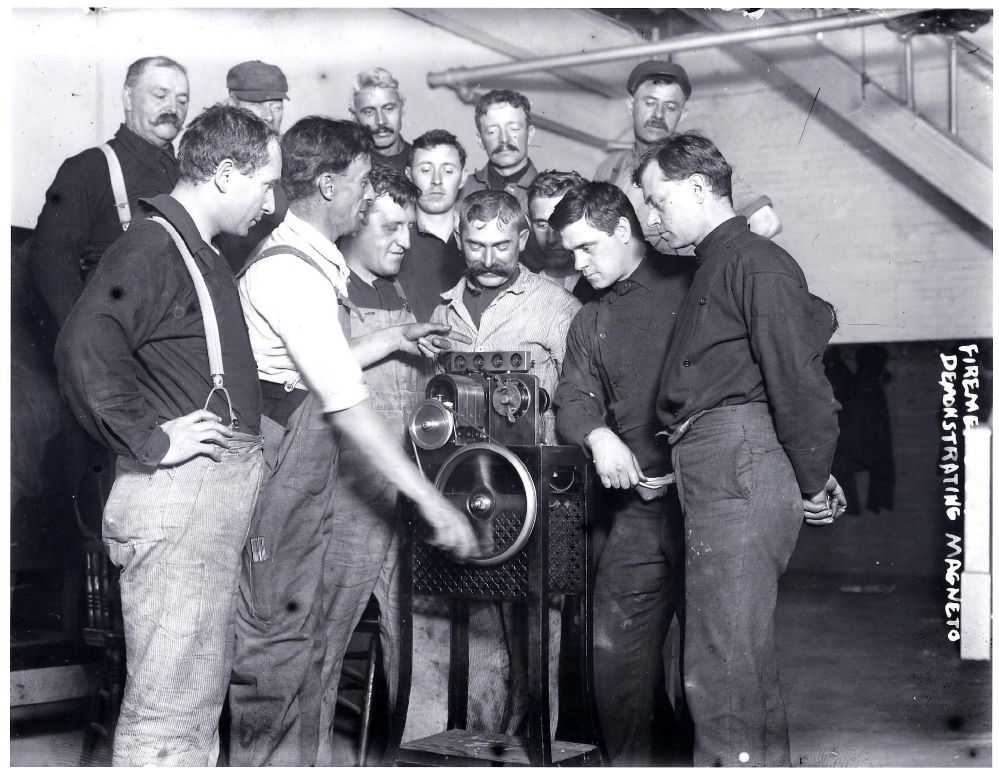
Understanding how to keep the Maggie in top form was important to keep rolling as demonstrated by these attentive New York Firemen.
Just hold on to that fat wire that hooks to the sparkplugs while Billy gives it a mighty crank and it will make you smarter. This is an early dual ignition installation. The device to the right of the mag is a dash mounted coil with a switch to allow starting on battery current.
Magnetos were used extensively in aircraft engine installations. Here is airman Henri Farman in a very early Bosch Magneto equipped aircraft. Probably very near the flight of Orville and Wilbur Wright. Fortunately, Bosch made very fine ignition equipment and there was a lot of wide open space to set down in case of difficulty. The French were at the forefront of aviation technology early on.
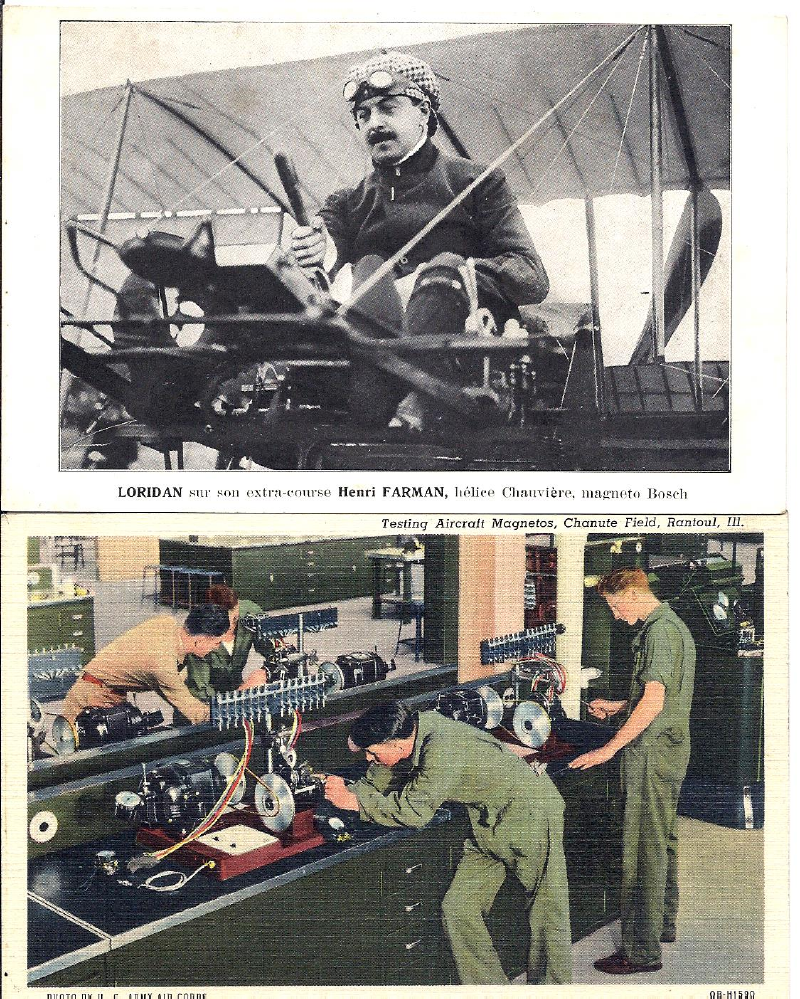
Here highly skilled military airframe and powerplant technicians are testing and servicing aircraft magnetos at Chanute Air Force Base in Rantoul, Il. sometime in the 1940's.
Soon jet aircraft replaced the piston engine powered craft but many medium and light aircraft still use them.
The first task should be to determine if the NO Go is indeed a magneto/ignition problem. The Eisemann literature describes a simple test. More to follow on testing and how to carried away and totally out of control with instruments and gizmos in the "testing 101 section. I hope there are no cracks in the plug wire insulation or Mr Hand is going to get a dose of shock therapy.
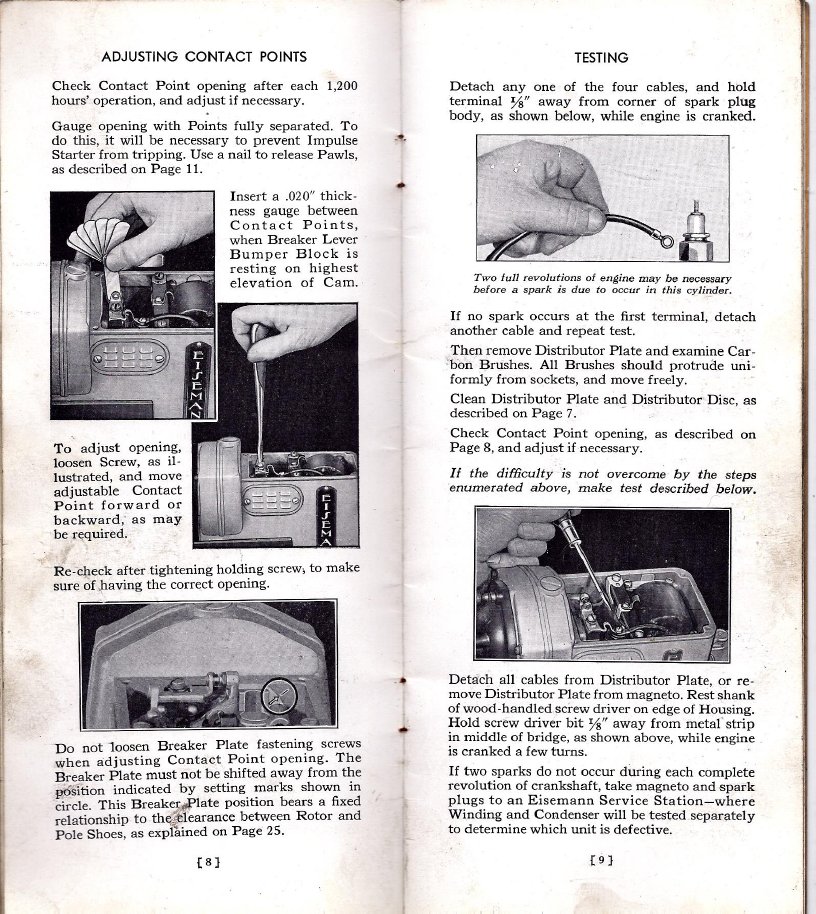
Here we will share some service tips gleaned over years and beers from professors,mechanics, engineers, fellow restorers and the college of hard knocks. If there is a better method, we would like to know. We will start with the biggest offenders and add as time allows. Whenever possible, get the manuals for the magneto and the tractor for less frustration and more enjoyment. Dirty and incorrectly set points are very common causes of failure, and the usual ravages of wear, neglect, abuse and too much Oregon Rain in the wrong places. Since many of the early powerplants of the day employ "Armstrong Starting" always practice safe cranking to avoid injury.
Never snap or trip a wet magneto or without a path to ground like a grounded lead or a grounded sparkplug, this can cause the spark voltage to rise and find its own way to ground in the form of a carbon track. Some magnetos have an internal safety gap that will short out the spark when the voltage exceeds a safe level, but many do not. This is what happens when there is no path to ground and the magneto fires. iy will make its own path tp ground as a carbon track and fry the coil.

Another cause of failure is improperly installing a magneto on an electric start equipped engine. Most ignition systems for spark ignited engines have a single wire from the instrument cluster to the engine. With a battery and distributor equipped engine, this lead is connected to power to run and connects to the hot lead of the ignition coil. With a magneto equipped ignition system, this single wire from the instrument cluster connects the terminal on the side of the magneto to ground to stop, and disconnects the magneto terminal from ground to run. Connecting power to a magneto is a big NONO. It will likely burn out the coil, discharge the magnets, and possibly cause a fire. If the points are closed when this happens, it will cause a heavy current to go through the spring usually turning it red and annealing it thus losing its spring temper. The annealed "spring" will not hold the points together but will become soft and assume the shape when installed. The picture shows a new set of points next to a set from a Farmall Cub that got hooked to the hot lead and turned red before frying the coil. Keep this in mind when replacing a wiring harness or changing from a distributor ignition tp magneto.
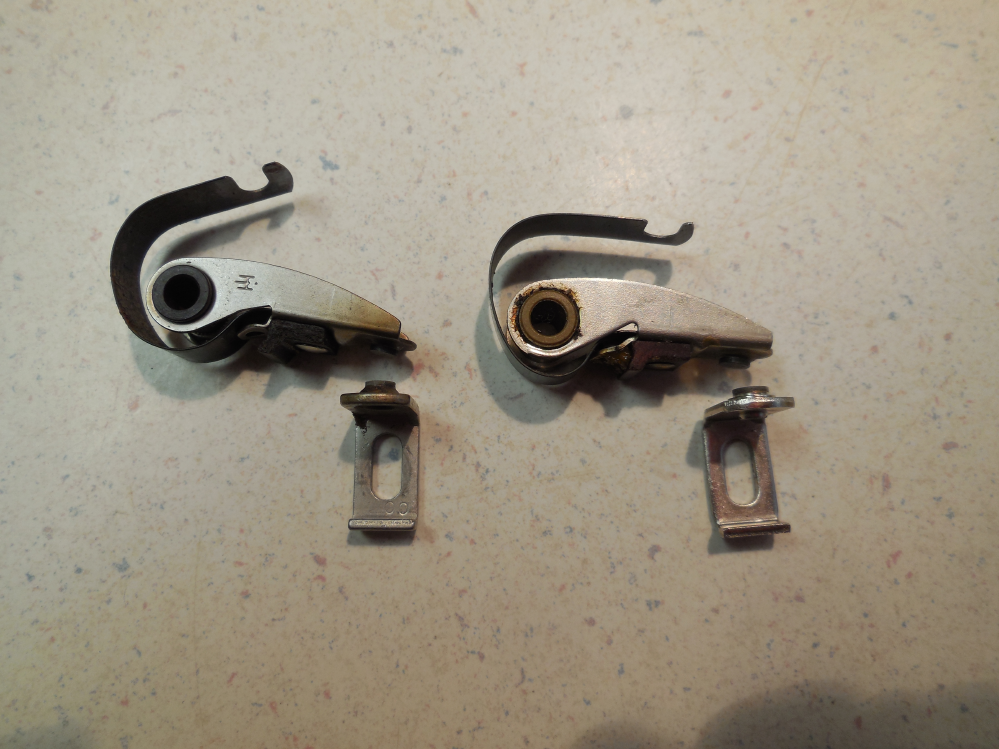
The lever spring on the right got red hot then separated from the stationary point causing heavy current through the coil which discharged the magnet, fried the coil and melted the coil cover almost causing a fire.
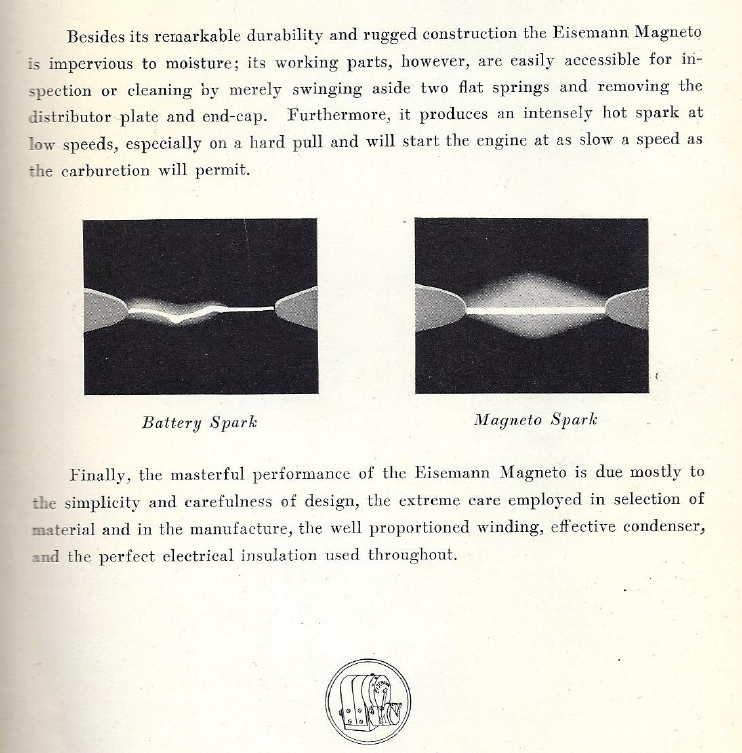
Early magnetos like the Bosch and Eisemann employed a wound armature. It makes a fatter hot spark for a longer duration, which some feel is ideal for the large early gas engines like in the early Cats.This was described in an early Eisemann Magneto catalog.
The downside is more moving parts and maintainence. Very important with any wound armature is to beware of insulation seepage. The varnish used in the day to seal the windings over time may turn into sticky goo and effectively glue the armature into the housing as there is not much daylight between the outside diameter of the rotating armature and the matching machined pole shoes, about .007" typically.. This also happens with other types of coils of the day. If the armature glues itself to the housing and we give the tractor a mighty crank or hit the electric starter we can damage or break the shaft and drive components, or cause the steel magneto drive shaft to turn in the brass armature ends molded to it. Big trouble! If it is gooey inside it is time to rewind. Heat usually makes the goo let go. Put it in the oven and bring it up to 300 degrees or so and pull it apart.The condenser (Capacitor for the electrical engineering types) usually lives in the base of the armature. If all is well mechanically, disconnect one lead from the condenser and check for leakage and capacity while you are in there. leaky capacitors cause a wimpy spark and pitted points. This is an armature for an International E4A. They used a paper condenser in the base and are nearly always bad and do not improve with age, especially in the soggy northwest. Many Eisemann and Robert Bosch magnetos used mica as an insulator in their condensers. These are very robust devices and often survive as mica is a mineral and does not soak up moisture.
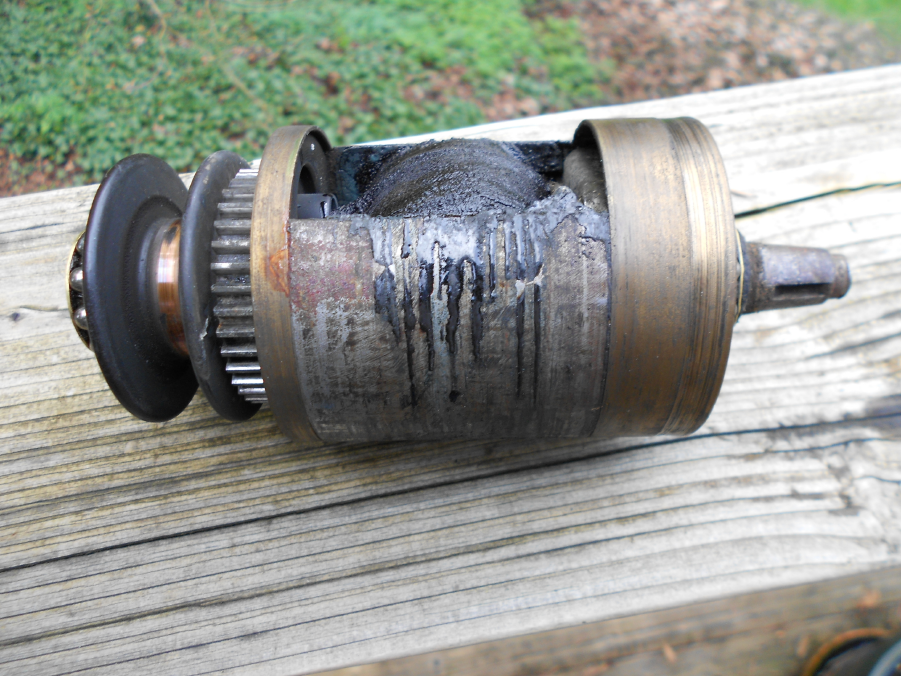
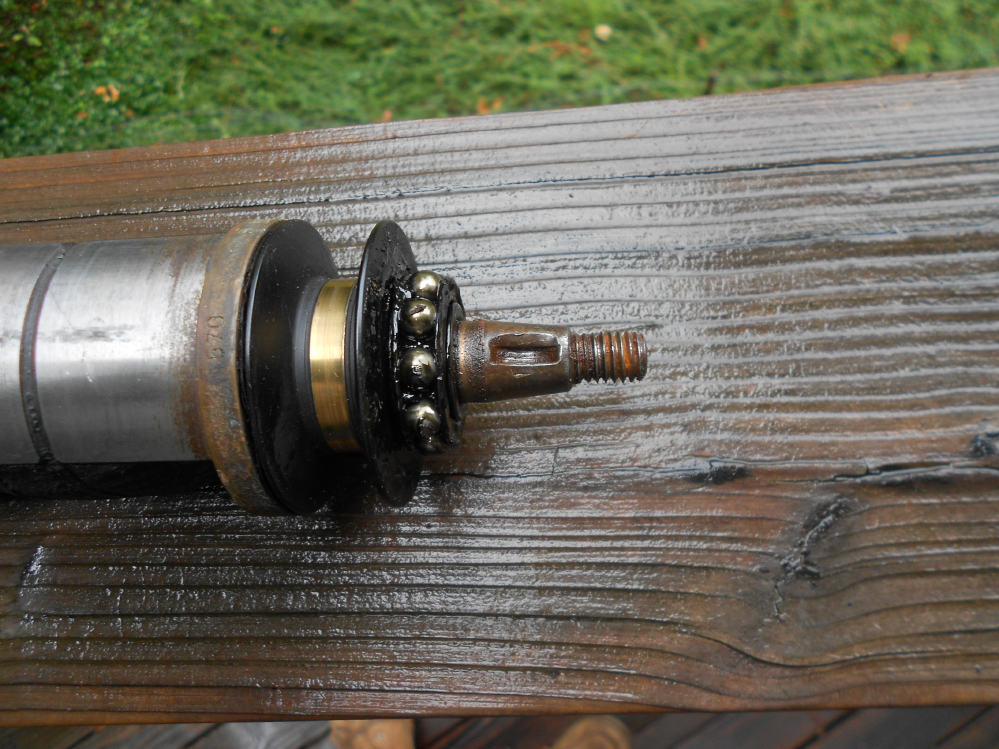
This one is also a victim of sticky goo. The sticky goo from the armature caused excessive torque on the driveshaft and is ready to tear out the keyway and/or shear off the key if not addressed. It is time to rewind.
This one below glued itself to the pole shoes, got a mighty crank, driveshaft turned in the brass endcap and chewed into the condenser. Big trouble. A magneto can be good and hot and still self destruct. Gooey insulation is notorious for breaking down and shorting out the spark on a hot summer day at the fair. Be aware of this when buying a "good used" magneto.

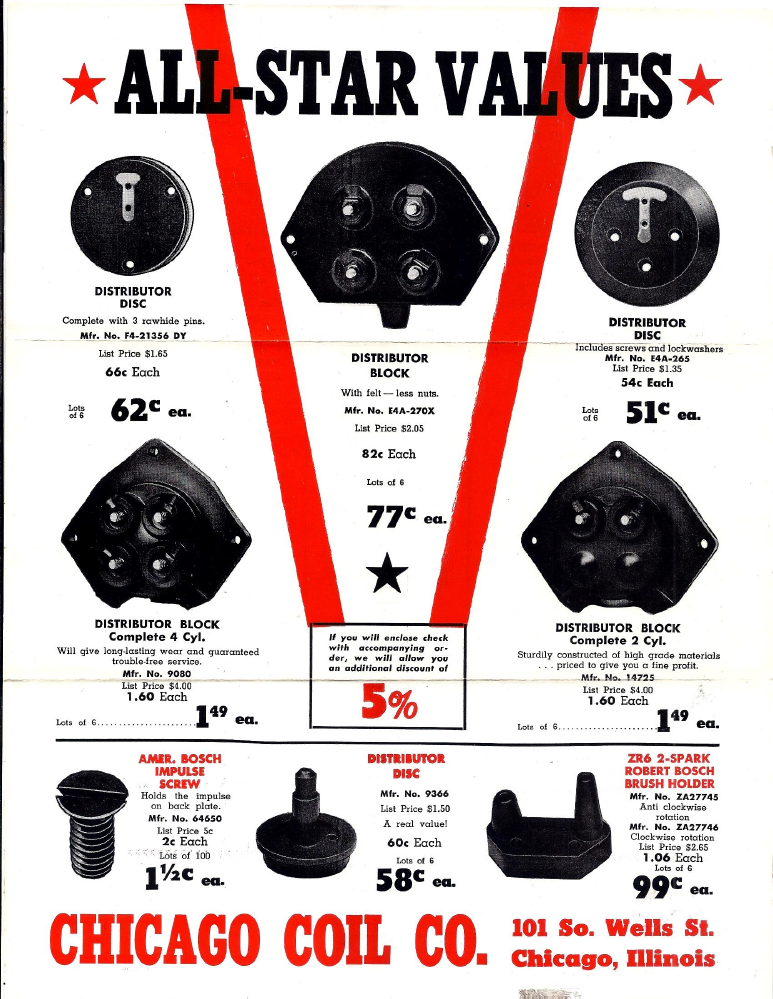
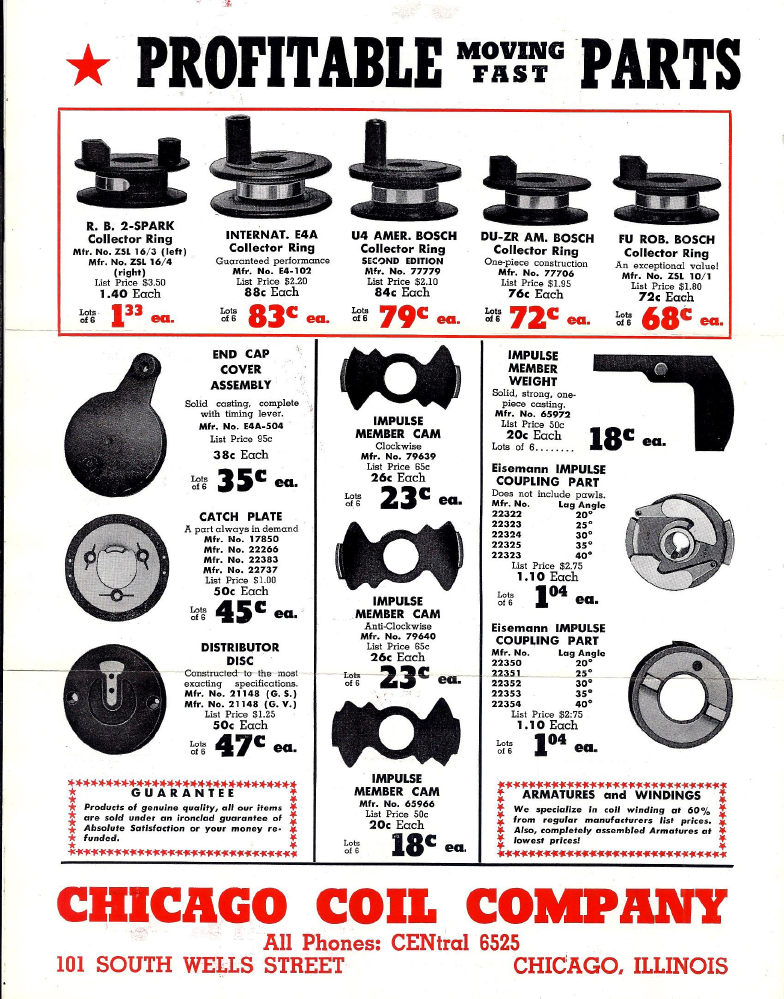
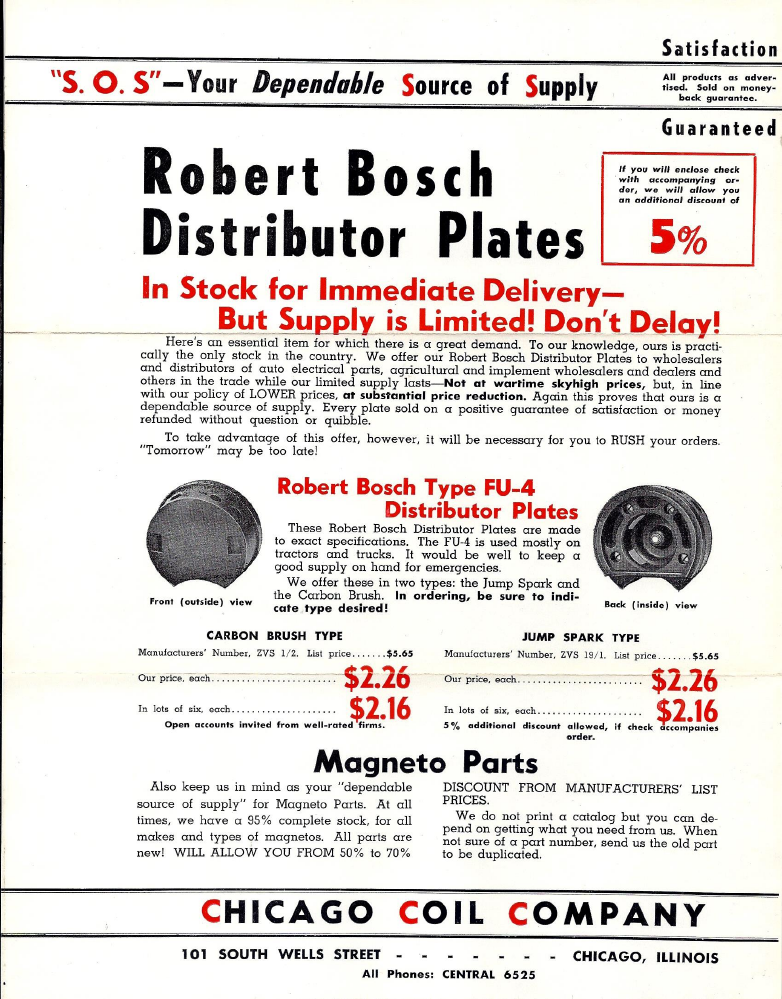
With the advent of mechanized agriculture and other industries there also arose a network of OEM and aftermarket support products and services like Chicago Coil. I wonder if they take Mastercard.
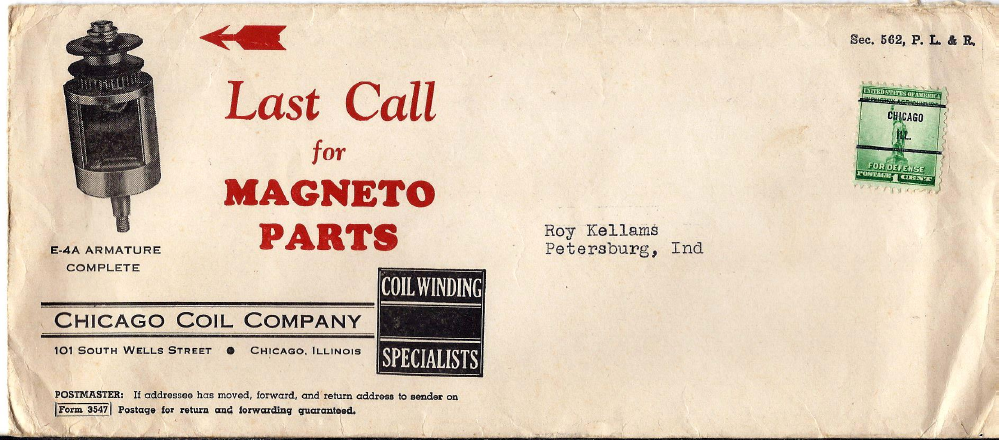
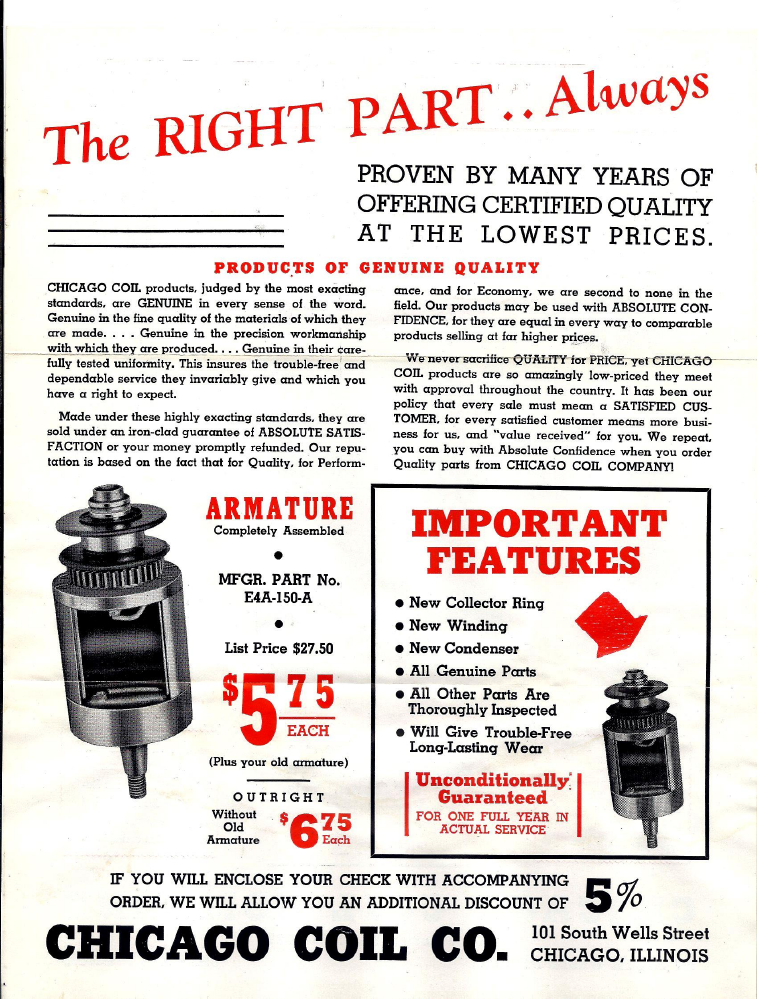
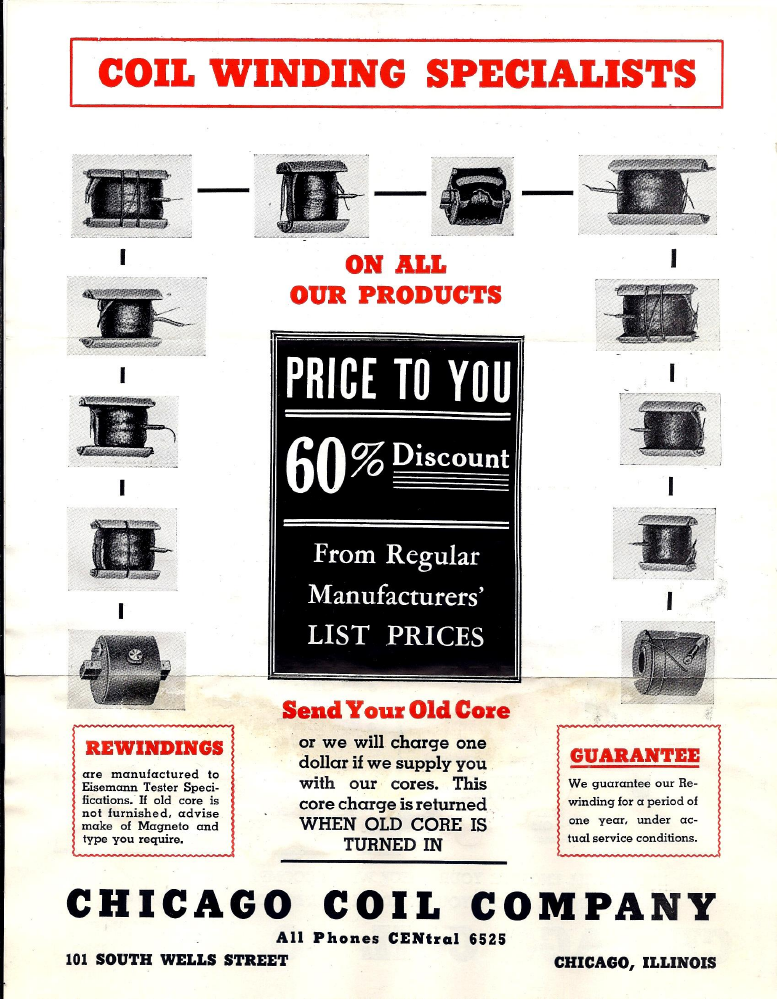

.
How They Work:
Magnetos make a spark usually by creating a changing magnetic field in an inductor with an iron core that in turn induces a high voltage in a coil cutting resultant magnetic lines of force. This can be done mechanically, electrically, or all the above. The stronger the magnetic field and the greater the change, the hotter the spark. That is why we get a hotter spark with well charged magnets and a quick flip of the crank that causes the field to change most rapidly. Most coils are actually a step up transformer with about 150 to 200+ turns of primary windings, 18-22 AWG connected to the points and condenser and a secondary winding with upwards of 10,000 + turns of 37-42AWG that supplies high voltage to the spark plugs. Basically, we are transforming relatively low voltage (about 100-200 Volts) and high current for high voltage and very low current, approaching 10,000 volts at a few microamperes.
Most "modern?" magnetos can be thought of in terms of two circuits important to create a strong rapidly changing magnetic field. We mechanically break the flux circuit of the magneto by rotating its magnetic armature past the stationary coil or rotating the coil past the stationary magnets to complete or break the flux path through the coil. Shortly after breaking the flux path we break the electrical path through the coil primary by opening the points to make the field collapse even faster, causing an even bigger change and hotter spark. The condenser or capacitor as the engineering types call it is across the point contacts and makes the field collapse even faster yet and prevents sparking at the points. The interval between breaking the flux path and breaking the electrical circuit is referred to as edge gap. This is because it often refers to the time when the edge of the moving magnet or coil pole piece moves away enough to effectively break the flux path. The points ( sometimes called the interupter) pop open at the optimal time to maximize the spark. This is critical for a hot spark. Extensive wear on the point lever rubbing block in some models can affect edge gap and cause a wimpy spark. Some mags have a means of adjusting the position of the points assembly to correct edge gap, on others it is time to replace the points due to wear on the rubbing block.
On the later mags like the Fairbanks Morse FM..., heat is also a friend. Some of their early coils would seep goo down into the rotating magnet and glue the magnet to the housing. To remove the coils on these, one must remove the 1/4-20 setscrews on top. Be very carefull as excessive torque can break off one side of the screw slot. If they do not come peacefully let them have it with a propane torch. There is some type of thread retainer present that will let go with heat and the non ferrous housing will grow larger than the screw. We often chase the threads and replace with a modern Allen head setscrew.
Improper timing can turn your tractor into an arm breaker,powerless beheamoth, burn valves and get the engine good and hot. Always practice safe cranking and be sure the tractor is out of gear because if not you are probably standing in a very bad place! Best to learn all you can about the tractor or engine for safety's sake and have fun! If you have any questions or requests ask the old croaker.
